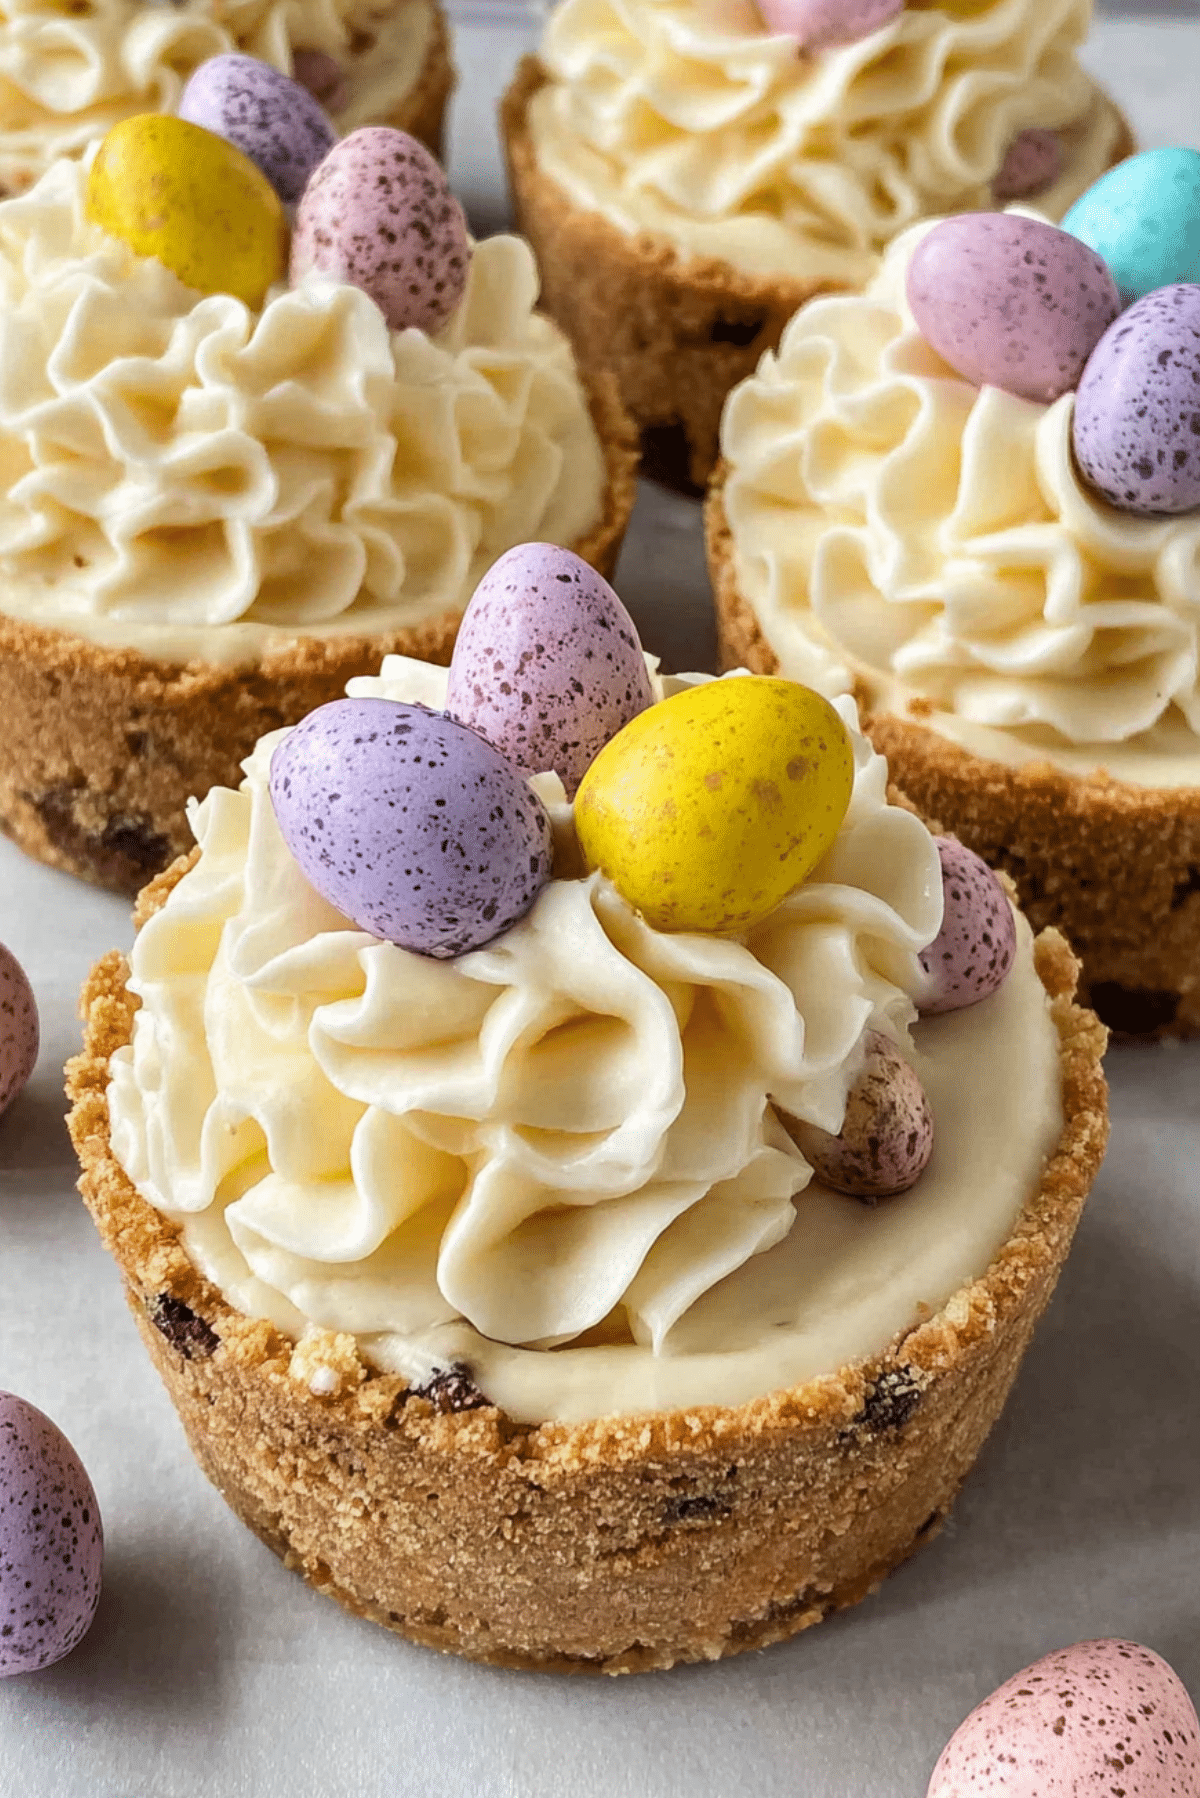
6-ingredient mini eggs cheesecakes
There is something almost magical about tiny desserts that look like they belong at a spring celebration, and these little cheesecakes bring exactly that feeling. The creamy swirls, the pastel crunch of chocolate eggs, and that buttery base come together in a way that feels both playful and indulgent. Trust me, you’re going to love this.
A sweet bite that feels like a celebration in every layer
These mini treats are the kind you make when you want something impressive without the stress. Each bite gives you a soft, velvety filling balanced with a slightly crumbly base, and those chocolate eggs add a gentle crunch that keeps things interesting. They are small, yes, but full of flavor and texture that feels anything but simple.
A little story behind these cheerful cheesecakes
Mini cheesecakes have been around for quite a while, especially as a no bake option for home cooks who want something elegant without needing an oven. Adding chocolate eggs gives them a seasonal twist, often seen around spring gatherings and holidays. It is a fun way to turn a classic dessert into something colorful and festive, while still keeping that rich, creamy core we all love.
Why this recipe just works every single time
Let me tell you, this one’s a total game changer when you need something quick but still impressive.
Versatile: You can switch toppings, flavors, or even the base depending on what you have at home.
Budget-Friendly: Only a handful of simple ingredients, nothing fancy or hard to find.
Quick and Easy: No baking involved, which saves time and effort.
Customizable: Add fruit, drizzle chocolate, or change the candies on top.
Crowd-Pleasing: Everyone loves a creamy dessert, especially when it looks this cute.
Make-Ahead Friendly: Perfect for prepping ahead and chilling until needed.
Great for Leftovers: They store well and taste just as good the next day.
A few insider tips before you begin
Before we dive into the ingredients, here are some small tricks that make a big difference.
- Use room temperature cream cheese so everything blends smoothly
- Whip the cream until soft peaks form for a light texture
- Press the base firmly so it holds together when serving
- Chill long enough so the layers set properly
The simple tools that make it all come together
You do not need anything complicated, just a few basics.
Mixing Bowl: For combining your filling smoothly.
Hand Mixer or Whisk: Helps create that light, fluffy texture.
Muffin Tin or Cups: Keeps each cheesecake perfectly shaped.
Spatula: Great for folding and smoothing the mixture.
Food Processor or Rolling Pin: To crush the biscuits evenly.
Ingredients that build flavor in every layer
Now let’s gather everything you need. Each ingredient plays its own little role in building that perfect bite.
- Digestive Biscuits: 200 grams, crushed, this forms the buttery, slightly crumbly base
- Melted Butter: 100 grams, helps bind the base together
- Cream Cheese: 400 grams, the rich and creamy heart of the dessert
- Powdered Sugar: 100 grams, adds sweetness without graininess
- Heavy Cream: 200 milliliters, whipped to create a light and airy texture
- Chocolate Mini Eggs: 150 grams, for crunch, color, and a sweet finish
Easy swaps if you want to get creative
Sometimes you just want to switch things up a little.
Digestive Biscuits: Graham crackers or vanilla cookies
Heavy Cream: Whipping cream or plant-based cream alternative
Chocolate Mini Eggs: Chocolate chips or crushed candy pieces
The stars of the show
Let’s highlight what really makes these stand out.
Cream Cheese: This is where the silky texture comes from, it is smooth, rich, and slightly tangy.
Chocolate Mini Eggs: These bring a fun crunch and a pop of color that makes the dessert feel special.

Let’s bring everything together step by step
Alright, now let’s dive into the process and turn these ingredients into something amazing.
- Preheat Your Equipment: No oven needed here, just prepare your muffin tin with liners.
- Combine Ingredients: Mix crushed biscuits with melted butter until evenly coated.
- Prepare Your Cooking Vessel: Press the biscuit mixture firmly into the base of each cup.
- Assemble the Dish: Beat cream cheese with powdered sugar until smooth, then fold in whipped cream. Spoon or pipe over the bases.
- Cook to Perfection: Chill in the fridge for at least 4 hours until set.
- Finishing Touches: Top with chocolate mini eggs just before serving.
- Serve and Enjoy: Carefully remove and enjoy every creamy, crunchy bite.
The texture and flavor journey in every bite
What makes these so satisfying is the contrast. The base is slightly firm and buttery, while the filling is soft, airy, and rich. Then you get that little crunch from the chocolate eggs, which adds just enough texture to keep each bite exciting.
A few extra tips to get it just right
- Chill overnight if you want an even firmer texture
- Use a piping bag for a clean, bakery-style finish
- Taste the filling before assembling and adjust sweetness if needed
What to watch out for while making them
Even simple recipes have a few small pitfalls.
- Do not overmix the whipped cream or it may lose its lightness
- Avoid a loose base by pressing it firmly into the cups
- Do not skip chilling time or the cheesecakes will not hold shape
A quick look at the nutrition
Servings: 12
Calories per serving: 280
Note: These are approximate values.
Time needed to make these treats
Prep Time: 20 minutes
Cook Time: 0 minutes
Total Time: 20 minutes plus chilling time
Make ahead and store like a pro
These are perfect for planning ahead. You can prepare them a day in advance and keep them chilled. Store in an airtight container in the fridge for up to 3 days. Freezing is also possible, just thaw in the fridge before serving.
How to serve them for maximum wow factor
Serve them chilled on a simple plate or cake stand. Add a light dusting of powdered sugar or a drizzle of melted chocolate if you want to elevate the look even more.
Turn leftovers into something new
If you somehow have leftovers, you can crumble them into a dessert jar with extra cream or mix them into a milkshake for a fun twist.
A few more tips to make life easier
Use liners for easy removal and clean edges. Keep everything cold while working to maintain texture. And always taste as you go.
Make them look as good as they taste
Pipe the filling in a swirl pattern and place the chocolate eggs neatly on top. A little attention to detail makes a big difference.
Fun variations to try next time
- Add a layer of fruit jam between base and filling
- Mix crushed cookies into the filling for extra texture
- Use white chocolate in the filling for a sweeter profile
- Swap toppings with fresh berries for a lighter version
FAQ’s
1. Can I make these without a mixer?
Yes, you can whisk by hand, it just takes a bit more effort.
2. How long do they need to chill?
At least 4 hours, but overnight is best.
3. Can I freeze them?
Yes, just thaw in the fridge before serving.
4. Can I use low fat cream cheese?
You can, but the texture may be slightly less rich.
5. What if I do not have mini eggs?
Use any chocolate candy or chips instead.
6. How do I get clean edges?
Use liners and chill well before removing.
7. Can I make one large cheesecake instead?
Yes, just press into a larger pan and adjust chilling time.
8. Why is my filling too soft?
It likely needs more chilling time or better whipped cream consistency.
9. Can I add flavors like vanilla?
Absolutely, a little vanilla works beautifully.
10. How long do they last in the fridge?
Up to 3 days when stored properly.
Conclusion
There is something so satisfying about creating a dessert that looks this good with so little effort. These mini cheesecakes are creamy, colorful, and just plain fun to eat. Let me tell you, it is worth every bite, and once you make them, they might just become your go to treat for any occasion.
Print
6-ingredient mini eggs cheesecakes
- Prep Time: 20 minutes
- Cook Time: 0 minutes
- Total Time: 20 minutes plus chilling time
- Yield: 12 mini cheesecakes 1x
- Category: Dessert
- Method: No-bake
- Cuisine: International
- Diet: Vegetarian
Description
Creamy no-bake mini cheesecakes with a buttery biscuit base and colorful chocolate eggs on top, perfect for a quick and festive dessert.
Ingredients
- 200 grams digestive biscuits, crushed
- 100 grams melted butter
- 400 grams cream cheese
- 100 grams powdered sugar
- 200 milliliters heavy cream
- 150 grams chocolate mini eggs
Instructions
- Prepare a muffin tin with liners.
- Mix crushed digestive biscuits with melted butter until evenly combined.
- Press the mixture firmly into the base of each liner to form the crust.
- In a bowl, beat cream cheese with powdered sugar until smooth.
- Whip the heavy cream until soft peaks form, then gently fold it into the cream cheese mixture.
- Spoon or pipe the filling over the biscuit bases.
- Refrigerate for at least 4 hours until set.
- Top with chocolate mini eggs before serving.
Notes
- Make sure cream cheese is at room temperature for a smooth mixture.
- Chill overnight for best texture and firmness.
- Use a piping bag for a clean and professional look.
Nutrition
- Serving Size: 1 mini cheesecake
- Calories: 280
- Sugar: 18g
- Sodium: 120mg
- Fat: 20g
- Saturated Fat: 12g
- Unsaturated Fat: 6g
- Trans Fat: 0g
- Carbohydrates: 22g
- Fiber: 1g
- Protein: 4g
- Cholesterol: 60mg
Keywords: mini cheesecakes, no bake cheesecake, easter dessert, chocolate egg cheesecake, easy dessert