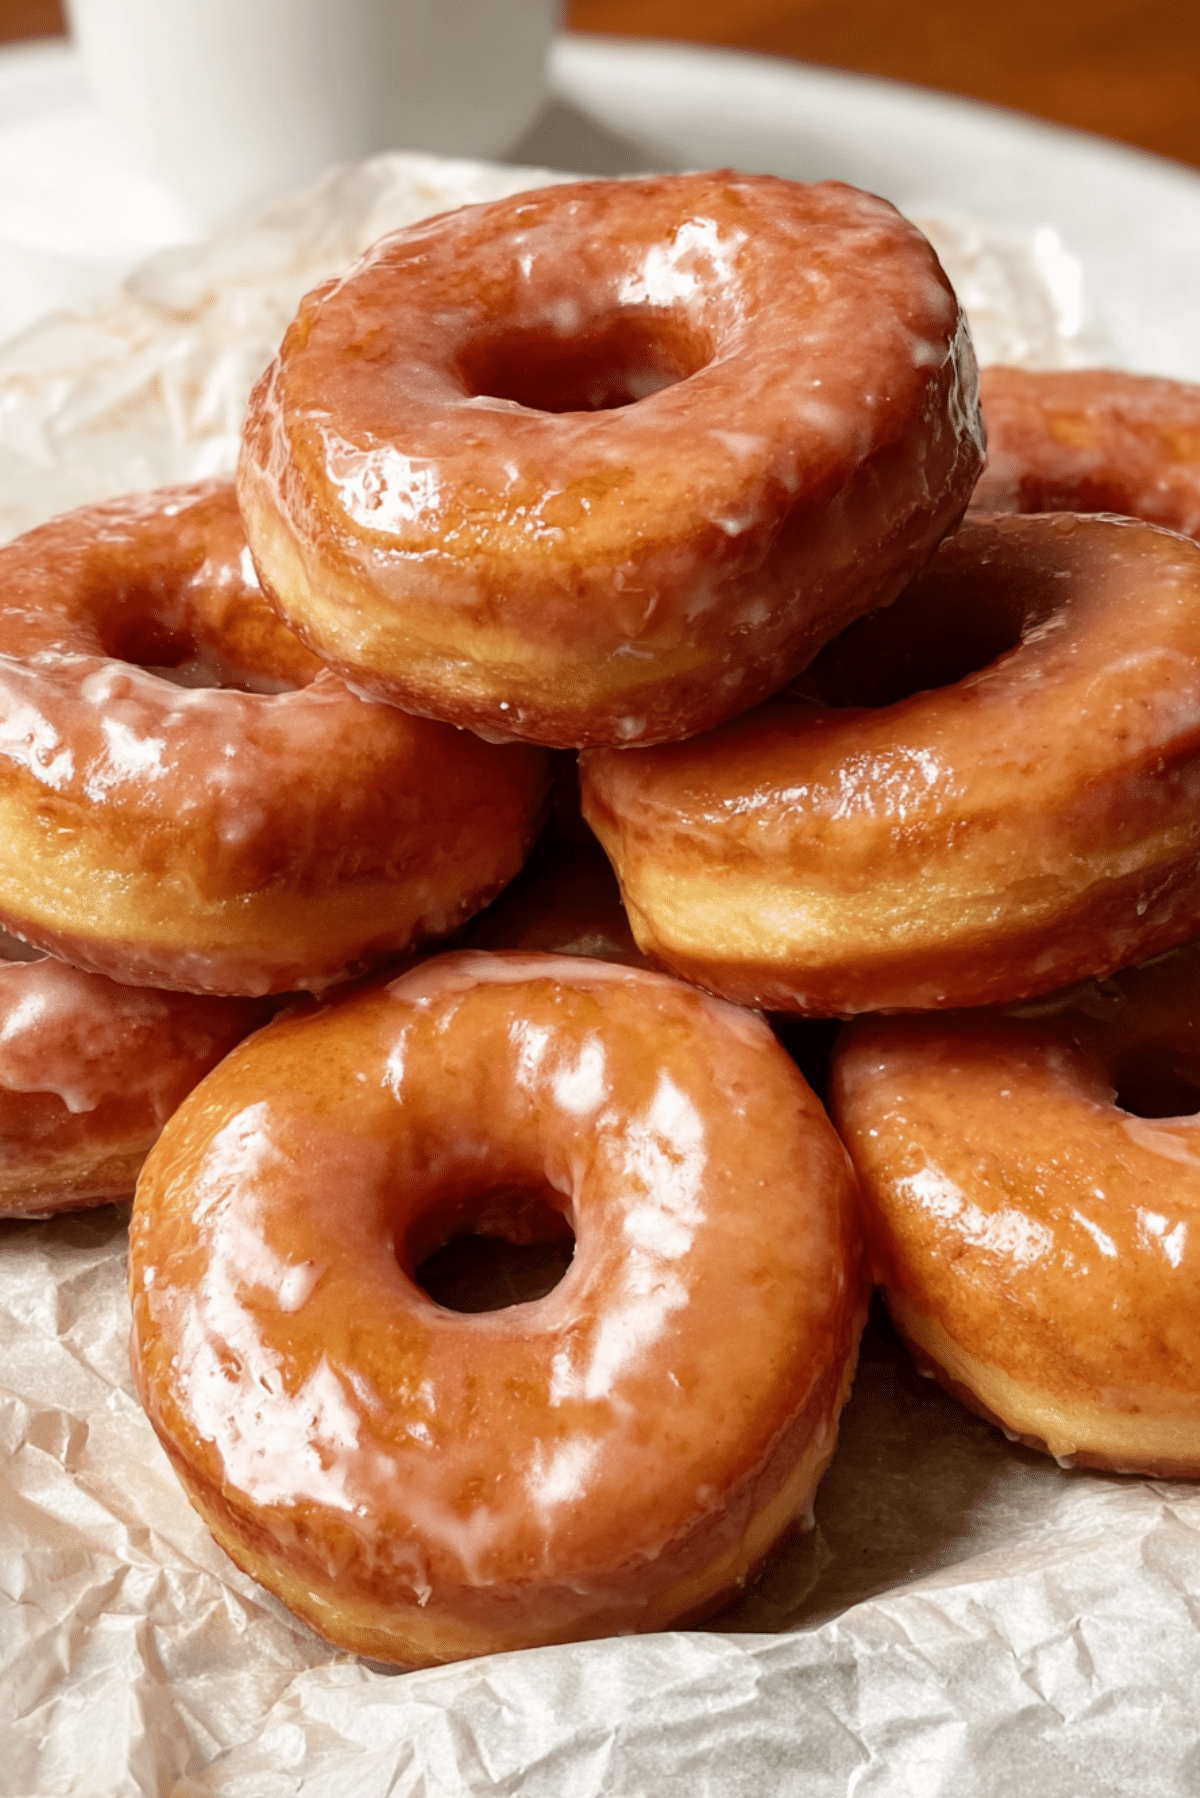
Classic Glazed Donut
There’s something undeniably comforting about biting into a warm, fluffy donut coated in that perfect sheen of sugary glaze. The aroma alone is enough to pull anyone into the kitchen, and once you taste it soft, sweet, with a gentle hint of vanilla it’s game over. Whether you’re making these for a cozy weekend treat or a fun get-together, this classic glazed donut recipe is here to deliver nostalgic joy with every bite.
Behind the Recipe
This recipe came from a weekend craving and a memory. I remember standing at the corner bakery as a kid, eyes wide at the rows of donuts in the glass case. But it was always the classic glazed one that called to me. I wanted to recreate that soft interior, slightly chewy exterior, and that iconic sugary glaze that cracks ever so slightly when you take a bite. This homemade version hits all those notes and brings a little bakery magic right to your kitchen.
Recipe Origin or Trivia
Donuts have traveled through time and continents, evolving from Dutch “olykoeks” or “oil cakes” to the American breakfast staple we know today. It was in the early 1800s that donuts began resembling their current form, with the addition of yeast and later baking powder. The hole in the middle? That came along to help them cook evenly. Glazed donuts, in particular, gained popularity thanks to their irresistible combination of texture and sweetness. Now they’re a mainstay at bakeries, coffee shops, and family kitchens alike.
Why You’ll Love Classic Glazed Donut
Before we dive into the dough and glaze, let’s talk about why this recipe will become a favorite in your home.
Versatile:
These donuts work great for breakfast, dessert, or an afternoon pick-me-up with coffee.
Budget-Friendly:
Made with pantry staples like flour, sugar, and milk no fancy ingredients required.
Quick and Easy:
While the dough needs time to rise, the steps are straightforward and beginner-friendly.
Customizable:
Add a dash of cinnamon to the glaze or drizzle with chocolate — the choice is yours.
Crowd-Pleasing:
Who doesn’t love a classic glazed donut? Kids and adults alike can’t resist.
Make-Ahead Friendly:
You can prep the dough the night before and fry in the morning.
Great for Leftovers:
Reheat them for 10 seconds in the microwave and they’re just like fresh.
Chef’s Pro Tips for Perfect Results
Getting that ideal donut shop result at home takes a few key tricks. Here’s what makes the difference.
- Use bread flour if you want a chewier texture, though all-purpose still works wonderfully.
- Don’t rush the proofing time. Letting the dough double ensures light and airy donuts.
- Fry at the right temperature keep oil around 350°F for even cooking and golden outsides.
- Glaze the donuts while they’re still slightly warm. That’s how you get the perfect coating.
- Avoid overcrowding the pan when frying to maintain oil temperature.
Kitchen Tools You’ll Need
To bring these beauties to life, gather these basic kitchen tools:
Mixing Bowls: For combining and kneading the dough.
Stand Mixer (optional): Makes the kneading easier and faster.
Rolling Pin: To gently roll out the dough before cutting.
Donut Cutter or Round Cutters: For shaping those classic rings.
Candy Thermometer: Ensures your oil is at the right frying temperature.
Slotted Spoon or Spider Strainer: To safely remove the donuts from hot oil.
Wire Rack: For cooling and letting excess glaze drip off.
Ingredients in Classic Glazed Donut
The beauty of this recipe lies in the balance of simple ingredients coming together in just the right way.
- All-Purpose Flour: 3 ½ cups the base structure that creates a tender, fluffy crumb.
- Granulated Sugar: ¼ cup adds sweetness to the dough.
- Active Dry Yeast: 2 ¼ teaspoons helps the donuts rise and gives them that soft, airy bite.
- Whole Milk: 1 cup, warm activates the yeast and adds richness.
- Unsalted Butter: ¼ cup, melted brings a creamy softness to the dough.
- Eggs: 2 large add structure, moisture, and richness.
- Vanilla Extract: 1 ½ teaspoons adds a warm, familiar depth of flavor.
- Salt: ½ teaspoon balances the sweetness and enhances flavor.
- Vegetable Oil (for frying): About 4 cups neutral flavor and perfect for crisping.
- Powdered Sugar: 2 cups for the classic shiny glaze.
- Water: 4 tablespoons thins the glaze to the perfect consistency.
- Vanilla Extract (for glaze): 1 teaspoon brings aroma and flavor to the topping.
Ingredient Substitutions
Sometimes you need a quick swap. Here are some solid alternatives:
All-Purpose Flour: Bread flour for extra chew.
Whole Milk: Almond milk or oat milk for a dairy-free option.
Active Dry Yeast: Instant yeast, just adjust proofing slightly.
Unsalted Butter: Margarine or plant-based butter for a dairy-free version.
Powdered Sugar: Blend granulated sugar in a blender until fine if you’re out.
Ingredient Spotlight
Active Dry Yeast:
This is the magic-maker behind the light, airy texture of donuts. It creates bubbles during proofing, which gives the dough its rise and softness.
Powdered Sugar:
It’s not just about sweetness. Powdered sugar dissolves into a silky glaze that hardens beautifully while staying melt-in-your-mouth tender.

Instructions for Making Classic Glazed Donut
Making these donuts is a joyful, hands-on experience that rewards you with bakery-quality results. Here’s how to do it.
1. Preheat Your Equipment:
If using a stand mixer, fit it with the dough hook. Also, preheat oil in a deep fryer or heavy-bottomed pot to 350°F.
2. Combine Ingredients:
In a large bowl, combine warm milk and yeast. Let it sit for 5–10 minutes until foamy. Add sugar, eggs, melted butter, vanilla, salt, and half the flour. Mix, then slowly add the rest of the flour. Knead until smooth and elastic.
3. Prepare Your Cooking Vessel:
Lightly oil a large bowl and place the dough inside. Cover with a towel and let rise in a warm spot until doubled, about 1–1.5 hours.
4. Assemble the Dish:
Turn dough onto a floured surface and roll to ½-inch thick. Cut out donut shapes and place them on parchment paper. Let rise again for 30–40 minutes.
5. Cook to Perfection:
Fry 2–3 donuts at a time in 350°F oil. Cook each side for about 1 minute or until golden brown. Remove with a slotted spoon and drain on a rack.
6. Finishing Touches:
Whisk powdered sugar, water, and vanilla for the glaze. Dip warm donuts in glaze, then place back on the rack to set.
7. Serve and Enjoy:
Enjoy warm, or let the glaze set completely for a firmer finish. Best paired with coffee or milk.
Texture & Flavor Secrets
The secret to their incredible texture lies in the two-stage proofing and gentle frying. This creates that pillowy soft inside with a slightly crisp golden shell. The glaze adds a crackly sweetness that contrasts perfectly with the rich, fluffy interior. Every bite melts with a delicate balance of sweet and soft.
Cooking Tips & Tricks
Before you roll up your sleeves, here are a few final nuggets of wisdom:
- Let the yeast activate fully. If it doesn’t foam, start over with fresh yeast.
- Roll your dough evenly so every donut cooks at the same rate.
- Keep your oil temp steady. Too hot and they burn, too cool and they soak up oil.
- Glaze while warm but not hot just enough to coat smoothly.
What to Avoid
A few simple missteps can throw things off here’s what to look out for:
- Skipping the second rise: Donuts need that final puff before frying.
- Over-kneading: This can make the dough tough instead of tender.
- Letting the oil get too cold: This leads to greasy, soggy donuts.
Nutrition Facts
Servings: 12
Calories per serving: 280
Note: These are approximate values.
Preparation Time
Prep Time: 20 minutes
Cook Time: 15 minutes
Total Time: 2 hours (includes rising time)
Make-Ahead and Storage Tips
You can prep the dough the night before and let it rise slowly in the fridge. In the morning, just roll, cut, and fry. Leftovers keep well at room temperature for a day or two in an airtight container. To freeze, skip glazing and store donuts in a sealed bag. Reheat and glaze fresh.
How to Serve Classic Glazed Donut
Serve them warm with a mug of hot cocoa, a cappuccino, or even a chilled glass of milk. Stack them on a platter, drizzle with chocolate or caramel, or sprinkle with crushed nuts for a fun twist. They’re perfect for brunch spreads, dessert trays, or weekday breakfast treats.
Creative Leftover Transformations
Got a few donuts left over? Here’s how to turn them into something new:
- Donut French Toast: Dip in egg batter and fry until golden.
- Donut Ice Cream Sandwiches: Slice in half and fill with your favorite flavor.
- Bread Pudding: Chop and mix with custard for a decadent bake.
Additional Tips
- Always let donuts cool slightly before glazing to avoid melting it off.
- Use a cooling rack with parchment underneath to catch excess glaze.
- Double the glaze if you like yours extra sweet or plan to dip twice.
Make It a Showstopper
Presentation matters. Stack your donuts high on a cake stand or serve them in a rustic wooden tray lined with parchment. A light dusting of powdered sugar or a few sprinkles can add charm. For parties, tie them on skewers or arrange them in a donut wall.
Variations to Try
- Chocolate Glazed: Add cocoa powder to the glaze.
- Maple Glazed: Swap vanilla for maple extract.
- Cinnamon Sugar: Skip the glaze and roll in cinnamon sugar instead.
- Stuffed Donuts: Fill with jam or custard before frying.
- Mini Donuts: Use a smaller cutter for bite-sized treats.
FAQ’s
Q1: Can I bake these donuts instead of frying?
No, this recipe is specifically developed for frying. Baking won’t give the same texture.
Q2: Can I use instant yeast?
Yes, you can. Just mix it in with the flour and skip the activation step.
Q3: Why did my donuts turn out greasy?
Most likely, the oil wasn’t hot enough. Keep it around 350°F.
Q4: How long do homemade donuts last?
They’re best fresh, but will keep up to 2 days in an airtight container.
Q5: Can I freeze glazed donuts?
It’s better to freeze them unglazed, then warm and glaze them before serving.
Q6: What oil is best for frying?
Use neutral oils like vegetable, canola, or sunflower.
Q7: Do I need a donut cutter?
Nope! You can use a large and small round cutter or even a glass and bottle cap.
Q8: Can I make the dough without a stand mixer?
Yes, just knead by hand for about 8–10 minutes until smooth.
Q9: What’s the best way to reheat them?
10 seconds in the microwave brings back that fresh taste.
Q10: Can I make vegan glazed donuts?
Yes, use plant-based milk, butter, and egg substitutes.
Conclusion
Classic glazed donuts are more than just a treat they’re a little moment of joy you can make right in your own kitchen. Soft, golden, and perfectly sweet, these donuts have the power to bring people together and brighten any day. Trust me, once you make them, they won’t last long on the plate.
Print
Classic Glazed Donut
- Prep Time: 20 minutes
- Cook Time: 15 minutes
- Total Time: 2 hours
- Yield: 12 donuts 1x
- Category: Breakfast, Dessert
- Method: Frying
- Cuisine: American
- Diet: Vegetarian
Description
Soft, fluffy classic glazed donuts with a golden crust and sweet vanilla glaze, perfect for breakfast or a treat any time of day.
Ingredients
- 3 ½ cups all-purpose flour
- ¼ cup granulated sugar
- 2 ¼ teaspoons active dry yeast
- 1 cup whole milk (warm)
- ¼ cup unsalted butter (melted)
- 2 large eggs
- 1 ½ teaspoons vanilla extract
- ½ teaspoon salt
- 4 cups vegetable oil (for frying)
- 2 cups powdered sugar
- 4 tablespoons water
- 1 teaspoon vanilla extract (for glaze)
Instructions
- In a large bowl, combine warm milk and yeast. Let it sit for 5–10 minutes until foamy.
- Add sugar, eggs, melted butter, vanilla, salt, and half the flour. Mix well, then gradually add the remaining flour. Knead until smooth and elastic.
- Place the dough in a lightly oiled bowl. Cover and let it rise in a warm place for 1–1.5 hours until doubled.
- Roll dough to ½-inch thick on a floured surface. Cut out donut shapes and let rise again on parchment for 30–40 minutes.
- Heat oil to 350°F. Fry 2–3 donuts at a time, 1 minute per side, until golden. Drain on a wire rack.
- Whisk powdered sugar, water, and vanilla to make glaze. Dip warm donuts and let the glaze set.
Notes
- Use bread flour for chewier texture if preferred.
- Glaze donuts while they’re still warm for best coating.
- Keep oil temperature steady to avoid greasy donuts.
- Dough can be prepped ahead and stored in the fridge overnight.
Nutrition
- Serving Size: 1 donut
- Calories: 280
- Sugar: 18g
- Sodium: 95mg
- Fat: 15g
- Saturated Fat: 4g
- Unsaturated Fat: 10g
- Trans Fat: 0g
- Carbohydrates: 32g
- Fiber: 1g
- Protein: 4g
- Cholesterol: 40mg
Keywords: glazed donut, homemade donuts, classic donuts, fried donuts, sweet breakfast