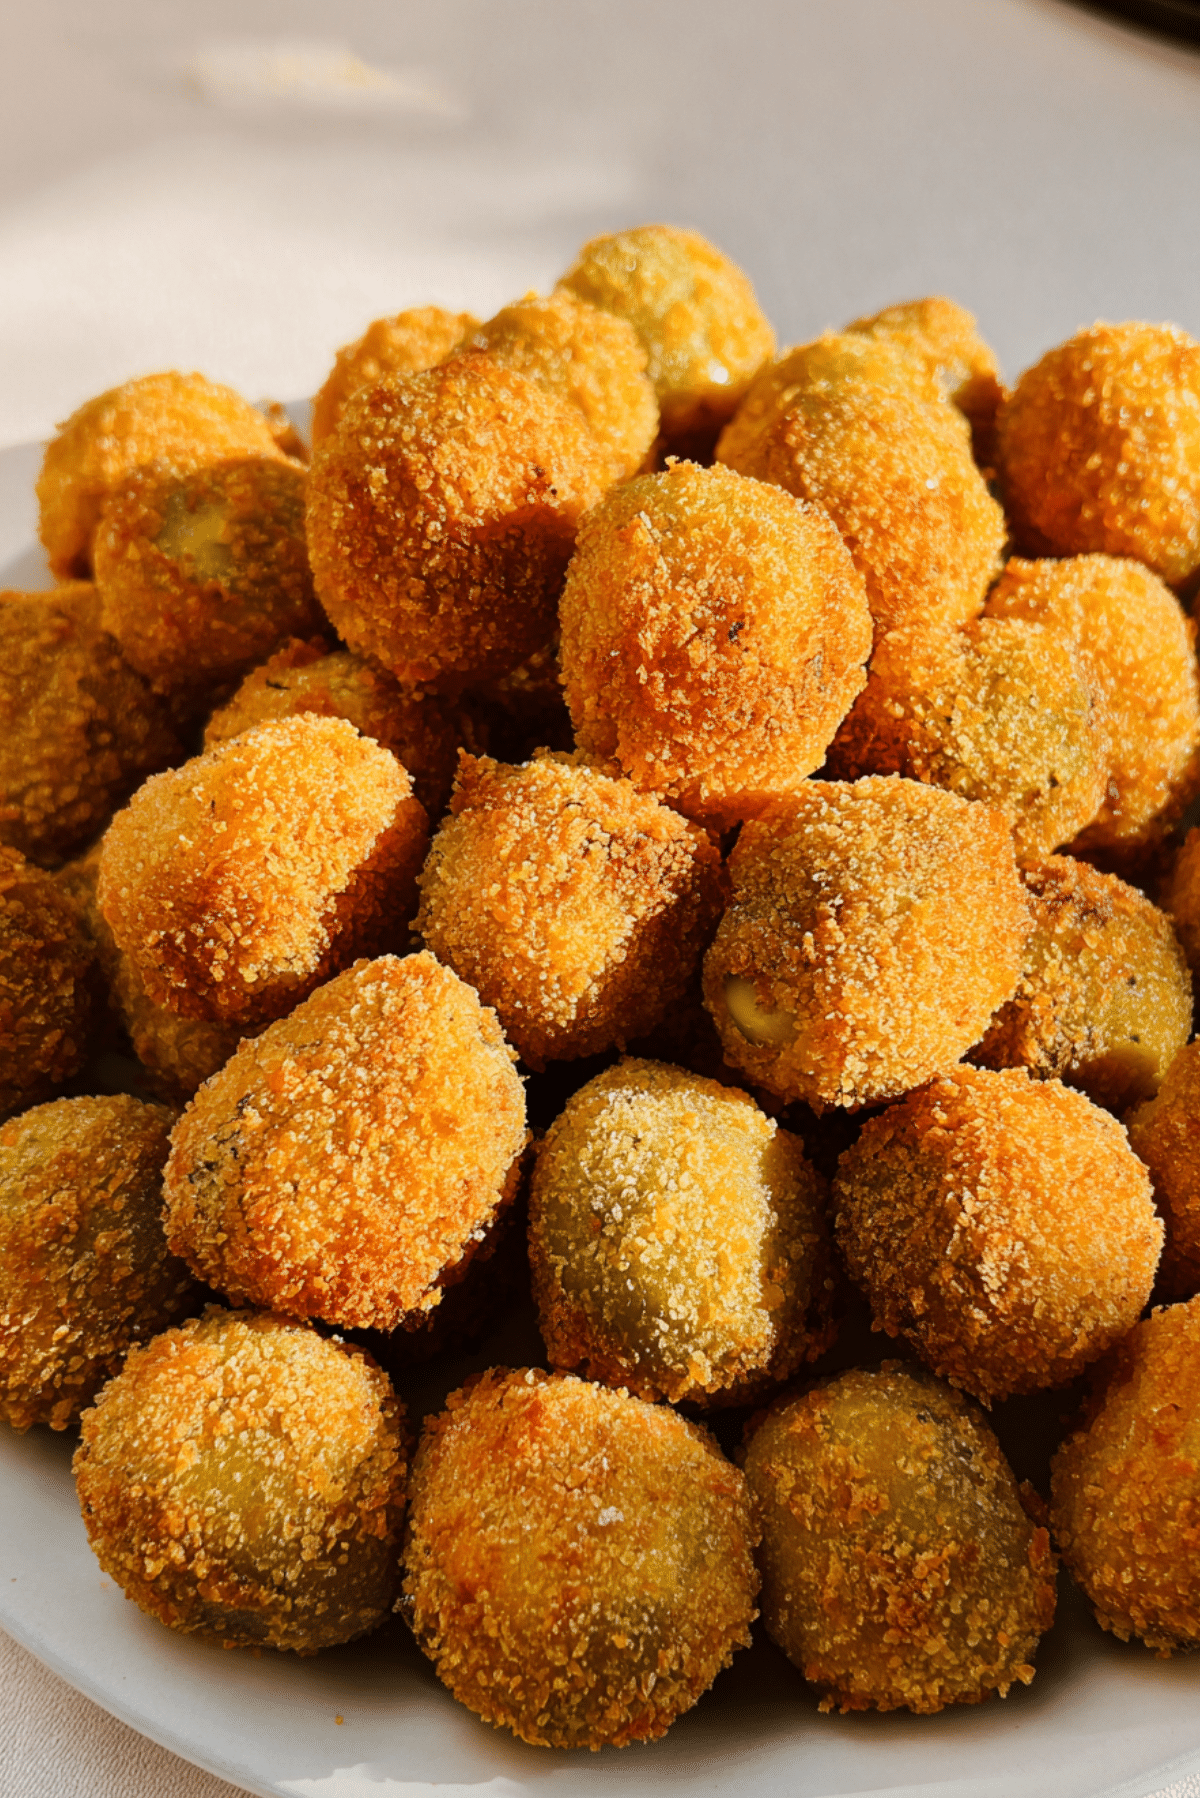
Fried Olives
There is something incredibly satisfying about biting into a crispy little sphere that crackles before giving way to a juicy, briny center. Fried olives are one of those snacks that feel both simple and a little bit fancy at the same time. The golden crust, the warm aroma, and that pop of flavor make them hard to resist. Trust me, you are going to love this.
A Crispy Bite That Feels Like a Treat Every Time
It all starts with that contrast. The outside turns beautifully crisp and golden, while the inside stays soft and slightly salty. Every bite feels balanced, and that is what makes these so addictive. Whether you are serving them at a gathering or just making a quick snack, they always disappear faster than expected.
A Little Mediterranean Story Behind Every Bite
Fried olives have roots in Mediterranean kitchens, especially in places like Italy and Spain where olives are more than just an ingredient, they are part of daily life. In Italy, you will often find variations stuffed with cheese or meat before being fried. Over time, simpler versions like this one became popular for their ease and bold flavor. It is a dish that carries tradition while still being incredibly approachable at home.
Why This Recipe Just Works So Well
Before we jump into cooking, let me tell you why this one is a total game changer.
Versatile: You can serve them as an appetizer, snack, or even a party finger food. They fit into almost any occasion.
Budget-Friendly: The ingredients are simple and affordable, yet the result feels elevated and special.
Quick and Easy: You do not need hours in the kitchen. The process is straightforward and beginner friendly.
Customizable: You can tweak the coating with herbs or spices to match your taste.
Crowd-Pleasing: Crispy and savory bites like these are always a hit with guests.
Make-Ahead Friendly: You can prepare the coated olives ahead of time and fry them when needed.
Great for Leftovers: If you somehow have extras, they reheat nicely and keep their crunch.
Little Chef Secrets That Make All the Difference
Now let’s dive a bit deeper and talk like a chef for a moment.
- Pat the olives dry before coating so the breading sticks better.
- Use fine breadcrumbs for a more even and delicate crust.
- Double coat if you want extra crunch, especially for parties.
- Keep the oil at a steady temperature so they cook evenly without getting greasy.
Tools That Make Cooking Smooth and Easy
Before we get cooking, let’s gather what you need.
Mixing Bowls: For organizing the flour, eggs, and breadcrumbs.
Slotted Spoon: Helps you lift the olives out of the oil easily.
Deep Pan or Pot: Essential for even frying.
Paper Towels: To drain excess oil and keep that crisp texture.
Ingredients That Come Together Beautifully
Each ingredient plays its role, and together they create something special.
- Green Olives: 2 cups, pitted, these bring the signature briny flavor.
- All-Purpose Flour: 1 cup, helps the coating stick evenly.
- Eggs: 2 large, beaten, act as the binding layer.
- Breadcrumbs: 1 1/2 cups, create that golden crispy crust.
- Olive Oil: 2 cups for frying, gives a rich and authentic flavor.
- Garlic Cloves: 2 cloves, finely minced, add subtle depth.
- Lemon: 1 whole, cut into wedges, brightens the final taste.
Easy Swaps If You Want to Get Creative
Sometimes you want to play around a bit, and that works beautifully here.
Breadcrumbs: Panko for extra crunch.
Green Olives: Black olives for a milder taste.
Olive Oil: Vegetable oil if you prefer a neutral flavor.
Garlic: Garlic powder for a smoother coating.
The Stars of the Dish
Let’s take a moment to appreciate what really makes this shine.
Green Olives: Their juicy, salty bite is the heart of this dish.
Breadcrumbs: They create that irresistible crunch that makes every bite satisfying.

Let’s Get Cooking Together
Now comes the fun part, and honestly, it is easier than you think.
- Preheat Your Equipment: Heat the olive oil in a deep pan over medium heat until it is hot but not smoking.
- Combine Ingredients: Place flour in one bowl, beaten eggs in another, and breadcrumbs mixed with minced garlic in a third.
- Prepare Your Cooking Vessel: Line a plate with paper towels and keep it ready for draining.
- Assemble the Dish: Roll each olive in flour, dip into eggs, then coat with breadcrumbs, making sure each one is evenly covered.
- Cook to Perfection: Fry the olives in batches for 2 to 3 minutes until golden and crispy.
- Finishing Touches: Remove with a slotted spoon and place on paper towels. Let them rest briefly.
- Serve and Enjoy: Serve warm with fresh lemon wedges for a bright finish.
That Perfect Crunch and Flavor Balance
What makes this dish unforgettable is the contrast. The outer layer is crisp and slightly nutty, while the inside stays juicy and salty. The garlic adds a gentle warmth, and a squeeze of lemon cuts through everything with a fresh, zesty lift. It is simple, but every bite feels layered and complete.
Helpful Tips to Get It Just Right
A few small tricks can really elevate your results.
- Keep your oil temperature steady to avoid soggy coating
- Fry in small batches so they crisp evenly
- Serve immediately for the best texture
Common Mistakes and How to Avoid Them
Even simple recipes can have little pitfalls.
- Skipping the flour step, which makes the coating slide off
- Overcrowding the pan, which lowers the oil temperature
- Using wet olives, which prevents proper crisping
A Quick Look at the Nutrition
Servings: 4
Calories per serving: 320
Note: These are approximate values.
Timing It Just Right
Prep Time: 15 minutes
Cook Time: 10 minutes
Total Time: 25 minutes
Make Ahead and Store Without Losing Flavor
If you want to get ahead, you can coat the olives and keep them in the fridge for a few hours before frying. Once cooked, store leftovers in an airtight container. Reheat in the oven to bring back the crisp texture. Freezing is also possible before frying, just cook them straight from frozen.
How to Serve Them Like a Pro
Serve them hot with lemon wedges or alongside a dipping sauce like garlic yogurt or marinara. They also pair beautifully with a fresh salad or a simple platter of snacks.
Turning Leftovers Into Something New
If you have extras, chop them and toss into a salad for a crunchy surprise. You can also add them to wraps or grain bowls for an extra punch of flavor.
A Few Extra Tips You Will Appreciate
Use fresh breadcrumbs if you can, it makes a noticeable difference. Let the olives rest after frying so the coating sets properly. And always taste one before serving, just to make sure everything is perfect.
Make Them Look As Good As They Taste
Serve on a clean white plate with a few lemon wedges on the side. Keep things simple so the golden color stands out. A little sprinkle of herbs can add a fresh pop of color too.
Fun Variations to Try Next Time
Try stuffing the olives with cheese before coating for a creamy center. Add chili flakes to the breadcrumbs for a spicy kick. Use herbs like oregano or thyme for a more aromatic version. You can even try a gluten free coating if needed.
FAQ’s
Q1: Can I use stuffed olives?
Yes, they work wonderfully and add extra flavor inside.
Q2: Can I bake instead of fry?
You can, but the texture will be less crispy compared to frying.
Q3: What oil is best for frying?
Olive oil works great, but you can also use vegetable oil.
Q4: Can I prepare them in advance?
Yes, coat them ahead and fry just before serving.
Q5: How do I keep them crispy?
Serve immediately and avoid covering them while hot.
Q6: Can I freeze them?
Yes, freeze before frying for best results.
Q7: Do I need to pit the olives?
Yes, pitted olives make them easier and safer to eat.
Q8: Can I add spices?
Absolutely, paprika or chili powder works nicely.
Q9: Are they gluten free?
Not as written, but you can use gluten free breadcrumbs.
Q10: What dipping sauces go well?
Garlic yogurt, marinara, or even a spicy mayo.
Conclusion
There is something truly special about a snack that is this simple yet this satisfying. Fried olives bring together crunch, flavor, and a little bit of indulgence in every bite. This one is a total game changer, and once you make it, it might just become your go to snack for any occasion.
Print
Fried Olives
- Prep Time: 15 minutes
- Cook Time: 10 minutes
- Total Time: 25 minutes
- Yield: 4 servings 1x
- Category: Appetizer
- Method: Frying
- Cuisine: Mediterranean
- Diet: Vegetarian
Description
Crispy fried olives with a golden breadcrumb coating and a juicy, briny center, perfect as a snack or appetizer.
Ingredients
- 2 cups green olives, pitted
- 1 cup all-purpose flour
- 2 large eggs, beaten
- 1 1/2 cups breadcrumbs
- 2 cups olive oil for frying
- 2 garlic cloves, finely minced
- 1 lemon, cut into wedges
Instructions
- Heat the olive oil in a deep pan over medium heat until hot but not smoking.
- Place flour in one bowl, beaten eggs in another, and breadcrumbs mixed with minced garlic in a third bowl.
- Line a plate with paper towels for draining.
- Roll each olive in flour, dip into eggs, then coat with breadcrumbs evenly.
- Fry the olives in batches for 2 to 3 minutes until golden and crispy.
- Remove with a slotted spoon and place on paper towels to drain excess oil.
- Serve warm with lemon wedges.
Notes
- Pat olives dry before coating for better adhesion.
- Use fine breadcrumbs for a smoother crust.
- Do not overcrowd the pan while frying.
- Serve immediately for best texture.
Nutrition
- Serving Size: 1 serving
- Calories: 320
- Sugar: 1g
- Sodium: 520mg
- Fat: 22g
- Saturated Fat: 3g
- Unsaturated Fat: 17g
- Trans Fat: 0g
- Carbohydrates: 24g
- Fiber: 2g
- Protein: 6g
- Cholesterol: 85mg
Keywords: fried olives, crispy olives, appetizer, Mediterranean snack, easy fried snack