Potato Chips
There is something almost magical about the sound of a crisp chip snapping between your fingers. That golden crunch, that light sprinkle of salt, that simple potato flavor that somehow feels nostalgic and exciting at the same time. Trust me, you’re going to love this. Making Potato Chips at home is not only fun, it completely changes how you think about this classic snack. Once you taste them warm and freshly fried, there is no going back.
The Simple Snack That Steals the Spotlight
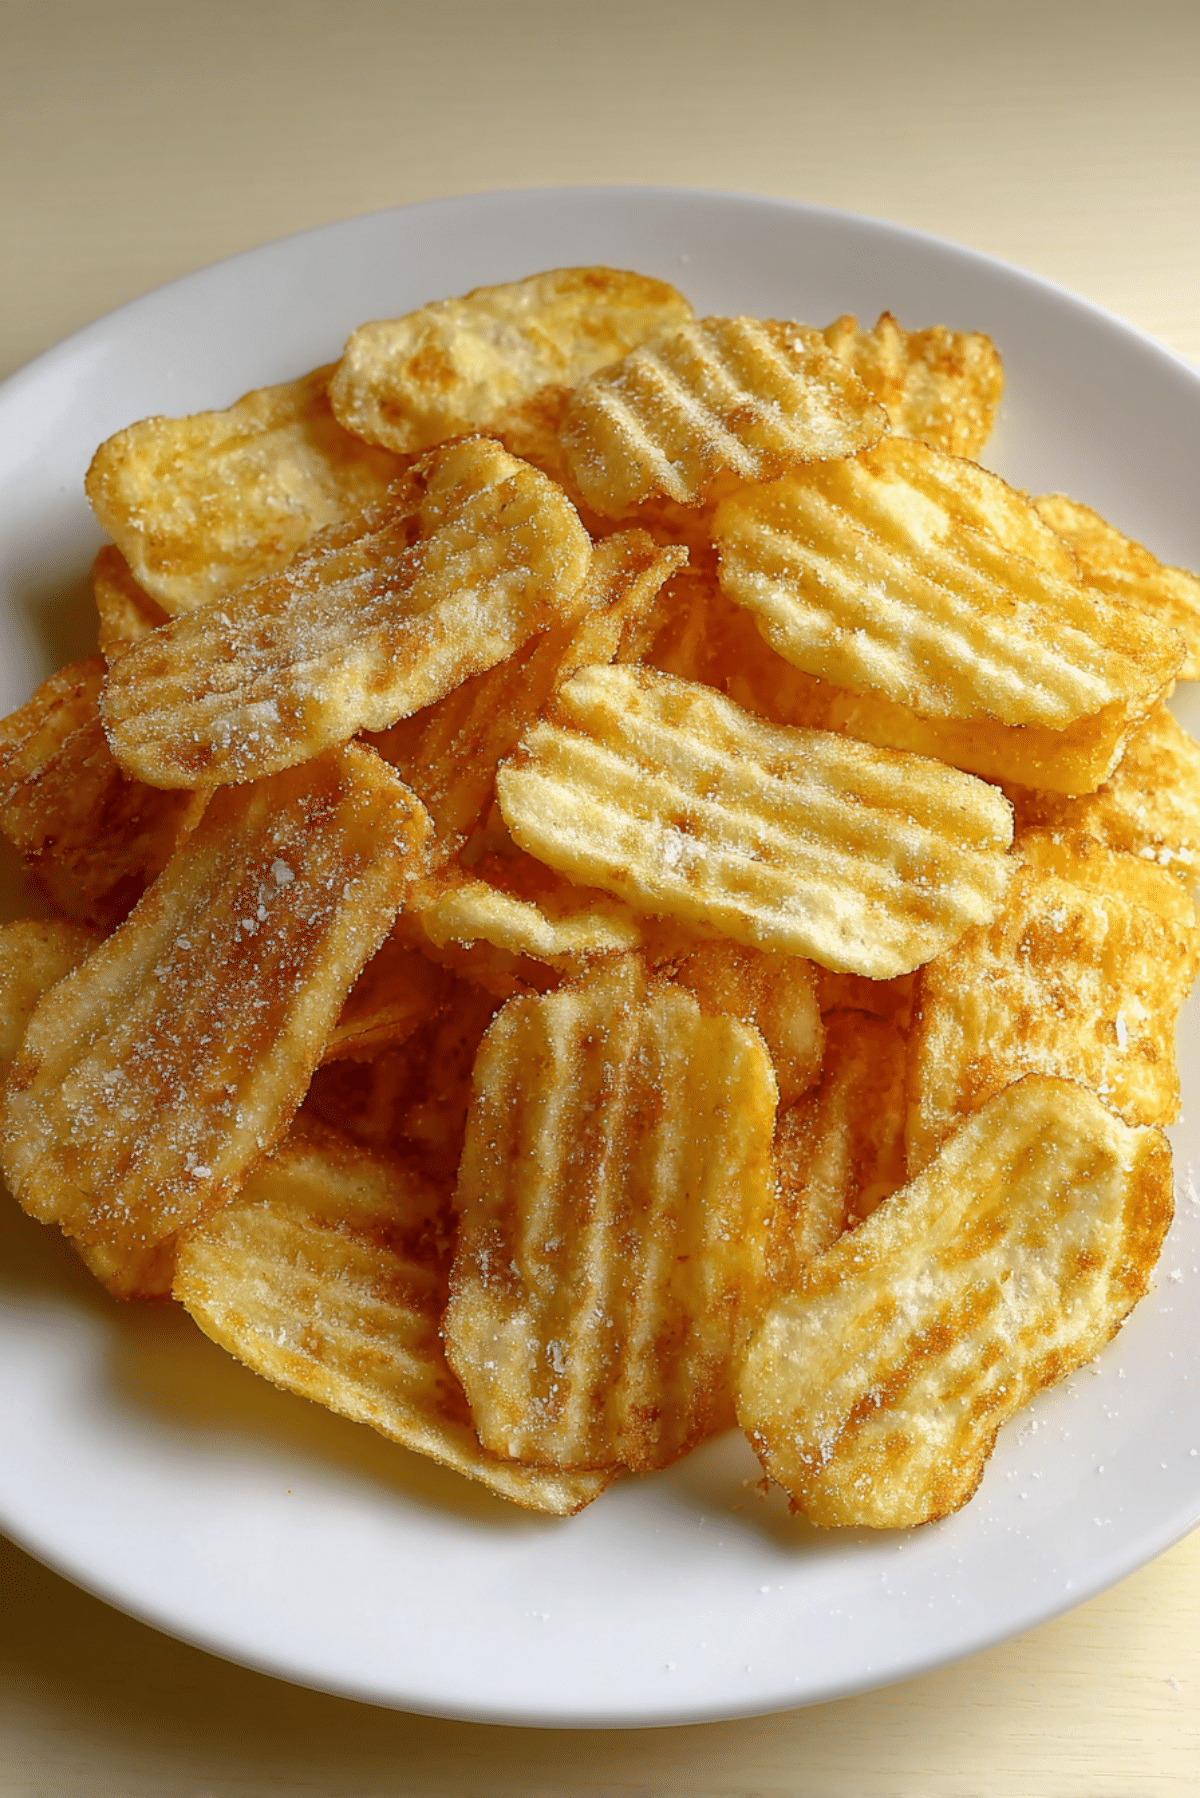
It is amazing how something made from just a few humble ingredients can become so addictive. These chips are thin, crispy, lightly salted, and perfectly golden. The edges curl slightly as they fry, creating those delicate ridges that shatter when you bite into them. The aroma of hot oil and fresh potato fills the kitchen, and suddenly everyone seems to wander in, asking what smells so good.
They are perfect for movie nights, game days, casual gatherings, or just when you need something crunchy to brighten your afternoon.
A Little History Behind That Crunch
Potato Chips have been around since the 19th century, often linked to American kitchens where cooks were experimenting with thinly sliced potatoes. What started as a creative response to a diner’s complaint eventually turned into one of the most popular snacks in the world.
Over time, different regions added their own twist, from thicker kettle-style chips to paper-thin slices. But at their heart, they remain beautifully simple, which is probably why they never go out of style.
Why This Recipe Always Works
Before we dive into the details, let me tell you why this method is such a keeper.
Versatile: You can keep them classic with salt or experiment with your favorite spice blends.
Budget-Friendly: Potatoes are affordable and easy to find year round.
Quick and Easy: With just a bit of slicing and frying, you get fresh chips in under 30 minutes.
Customizable: Adjust thickness, salt level, or seasoning to suit your taste.
Crowd-Pleasing: Everyone loves a crispy snack, especially when it is homemade.
Make-Ahead Friendly: Fry them earlier in the day and store them in an airtight container.
Great for Leftovers: Extra chips can be crushed over salads or soups for a crunchy topping.
Chef Secrets for Extra Crispy Results
If you want that irresistible crunch, here are a few insider tips.
- Slice the potatoes evenly, about 1.5 mm thick, so they cook at the same speed.
- Soak the slices in cold water to remove excess starch, which helps them crisp beautifully.
- Dry them thoroughly before frying, since moisture can cause splattering and soggy texture.
- Fry in small batches so the oil temperature stays steady.
These small steps make a big difference.
Essential Tools for Perfect Chips
Having the right tools makes the process smooth and enjoyable.
Mandoline slicer: Ensures even, thin slices for consistent frying.
Large heavy-bottomed pot: Maintains stable oil temperature.
Slotted spoon or spider strainer: Helps lift the chips safely from hot oil.
Paper towels: Absorb excess oil and keep the chips light and crisp.
Ingredients You Will Need For This Recipe
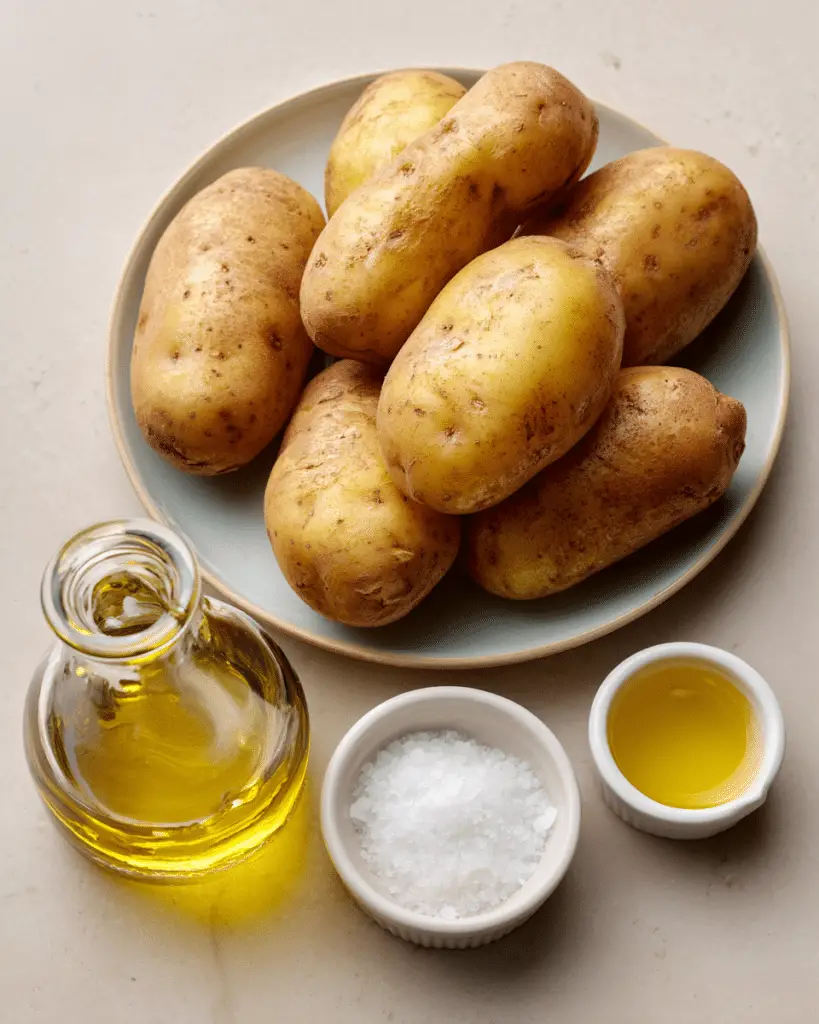
The beauty of this snack is how minimal it is. Each ingredient plays an important role in texture and flavor harmony.
- Russet Potatoes: 4 large potatoes, about 900 grams, peeled and sliced 1.5 mm thick. They are starchy, which helps create that classic crisp texture.
- Vegetable Oil: 1 liter, for deep frying. A neutral oil allows the potato flavor to shine.
- Salt: 1 teaspoon, or to taste. Enhances the natural sweetness of the potato and balances the richness.
Flexible Swaps If You Feel Creative
You can easily adapt this to your preference.
Russet Potatoes: Yukon Gold potatoes for a slightly buttery flavor.
Vegetable Oil: Sunflower oil or canola oil for similar neutral results.
Salt: Sea salt or fine kosher salt for a different texture.
Spotlight on the Star Ingredient
Russet Potatoes: Their high starch content and low moisture make them ideal for frying. They crisp up beautifully while staying light inside.
Let’s Get Cooking
Now let’s dive into the fun part, because this is where the transformation happens. You start with simple slices of potato and end with a bowl full of golden crunch.
- Preheat Your Equipment: Heat the vegetable oil in a large heavy-bottomed pot over medium heat until it reaches 180°C.
- Combine Ingredients: Place the sliced potatoes in a large bowl of cold water and soak for 20 minutes, then drain and pat completely dry with paper towels.
- Prepare Your Cooking Vessel: Line a tray with paper towels and set it near your stove for draining the chips.
- Assemble the Dish: Carefully lower a small batch of dried potato slices into the hot oil, making sure they do not stick together.
- Cook to Perfection: Fry for 3 to 4 minutes, turning occasionally, until they turn golden brown and crisp.
- Finishing Touches: Remove with a slotted spoon and place on paper towels. Sprinkle with salt immediately while still hot.
- Serve and Enjoy: Let them cool slightly, then transfer to a bowl and serve fresh for maximum crunch.
The Magic of Texture and Flavor
As the slices fry, the water inside the potato evaporates, creating tiny air pockets that make each chip light and crisp. The edges turn golden first, developing a slightly nutty flavor. When you sprinkle salt over the hot surface, it clings perfectly, enhancing every bite. This one’s a total game-changer compared to store-bought versions.
Helpful Tricks for Best Results
Sometimes the smallest tweaks create the biggest improvements.
- Keep the oil temperature steady at 180°C for even cooking.
- Do not overcrowd the pot, or the chips may turn soft.
- Season while hot so the salt sticks properly.
Common Mistakes and How to Fix Them
It happens to the best of us, but these are easy to avoid.
- Chips turning soggy, which usually means the slices were too thick or not dried well. Slice thinner and pat dry thoroughly.
- Chips browning too fast, which means the oil is too hot. Lower the heat slightly.
- Uneven color, which can happen if slices are different thicknesses. Use a mandoline for consistency.
Nutrition Snapshot
Servings: 4
Calories per serving: 320
Note: These are approximate values.
Time Breakdown for Planning
Prep Time: 25 minutes
Cook Time: 15 minutes
Total Time: 40 minutes
Make-Ahead and Storage Tips
If you want to prepare them in advance, fry the chips and let them cool completely before storing in an airtight container at room temperature for up to 3 days. For longer storage, keep them in a sealed container with a small piece of paper towel inside to absorb moisture. Reheat briefly in a 160°C oven for 5 minutes to restore crispness. Freezing is not recommended, since it affects texture.
How to Serve Them Like a Pro
Serve them in a wide bowl for easy sharing. Pair with sandwiches, burgers, or dips like yogurt herb sauce. They also make a fantastic crunchy side for grilled vegetables or wraps.
Creative Leftover Transformations
If you somehow have leftovers, crush them lightly and sprinkle over casseroles for a crispy topping. You can also mix them into breadcrumb coatings for baked vegetables or use them as a crunchy garnish on creamy soups.
Extra Little Touches
Add a pinch of paprika or garlic powder right after salting for subtle flavor variation. Let me tell you, it’s worth every bite. Always taste and adjust seasoning while they are still warm.
Make It Look Irresistible
Serve in a simple ceramic bowl on a white table to highlight the golden color. Keep lighting soft and natural so the texture stands out. A few chips casually stacked on top add height and visual interest.
Fun Variations to Try
- Add a sprinkle of smoked paprika for a warm, smoky finish.
- Toss with a light dusting of onion powder for savory depth.
- Try a pinch of chili powder for gentle heat.
- Use sweet potatoes instead of russet for a slightly sweeter crunch.
FAQ’s
Q1: Can I bake instead of fry?
Yes, but the texture will be slightly different. Bake at 200°C for about 20 minutes, flipping halfway.
Q2: Why soak the potatoes?
Soaking removes excess starch, which helps achieve crispiness.
Q3: Can I reuse the oil?
Yes, strain and store it in a sealed container for future frying.
Q4: How thin should I slice them?
About 1.5 mm thick for classic crisp texture.
Q5: What oil is best?
Neutral oils like vegetable, sunflower, or canola oil work best.
Q6: Why are my chips dark?
The oil may be too hot or the slices too thin.
Q7: Can I season them later?
It is best to season while hot so the salt sticks well.
Q8: Are these gluten free?
Yes, they contain no gluten ingredients.
Q9: How do I keep them crispy longer?
Store in an airtight container once fully cooled.
Q10: Can I double the recipe?
Absolutely, just fry in batches to maintain oil temperature.
Conclusion
There is something deeply satisfying about making Potato Chips from scratch. The aroma, the golden color, the irresistible crunch, it all comes together in such a simple yet rewarding way. Once you try them fresh and warm, you will understand why homemade always wins. Go ahead and give it a try, your kitchen is about to smell amazing.
Print
Potato Chips
- Prep Time: 25 minutes
- Cook Time: 15 minutes
- Total Time: 40 minutes
- Yield: 4 servings 1x
- Category: Snack
- Method: Deep Frying
- Cuisine: American
- Diet: Vegan
Description
Golden, crispy homemade potato chips made with just three simple ingredients. Thinly sliced russet potatoes are fried to perfection and lightly salted for the ultimate crunchy snack.
Ingredients
- 4 large russet potatoes (about 900 grams), peeled and sliced 1.5 mm thick
- 1 liter vegetable oil, for deep frying
- 1 teaspoon salt, or to taste
Instructions
- Heat the vegetable oil in a large heavy-bottomed pot over medium heat until it reaches 180°C.
- Place the sliced potatoes in a large bowl of cold water and soak for 20 minutes. Drain and pat completely dry with paper towels.
- Line a tray with paper towels and set it near the stove for draining the chips.
- Carefully lower a small batch of dried potato slices into the hot oil, making sure they do not stick together.
- Fry for 3 to 4 minutes, turning occasionally, until golden brown and crisp.
- Remove with a slotted spoon and place on paper towels. Sprinkle with salt immediately while still hot.
- Let cool slightly, then transfer to a bowl and serve fresh.
Notes
- Keep oil temperature steady at 180°C for even crisping.
- Do not overcrowd the pot to prevent soggy chips.
- Season while the chips are still hot so the salt adheres properly.
Nutrition
- Serving Size: 1 serving
- Calories: 320
- Sugar: 1g
- Sodium: 150mg
- Fat: 22g
- Saturated Fat: 3g
- Unsaturated Fat: 17g
- Trans Fat: 0g
- Carbohydrates: 30g
- Fiber: 3g
- Protein: 3g
- Cholesterol: 0mg
Keywords: potato chips, homemade chips, crispy snack, fried potatoes, easy snack recipe