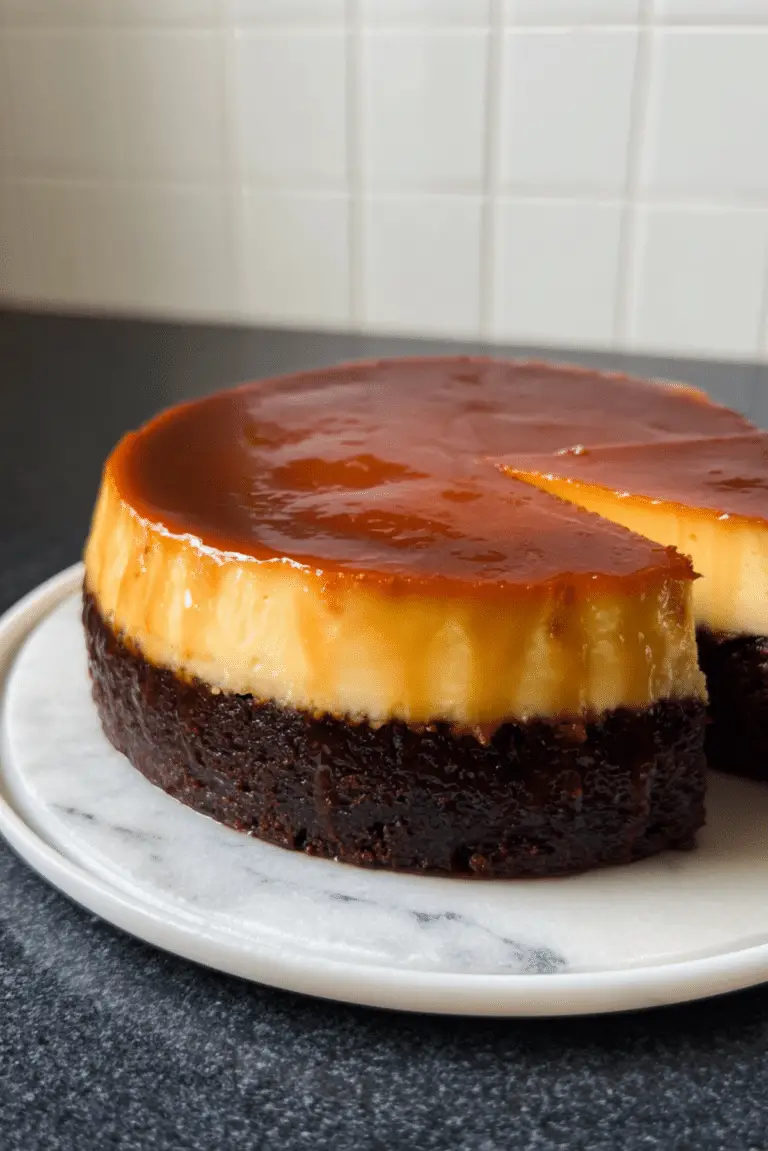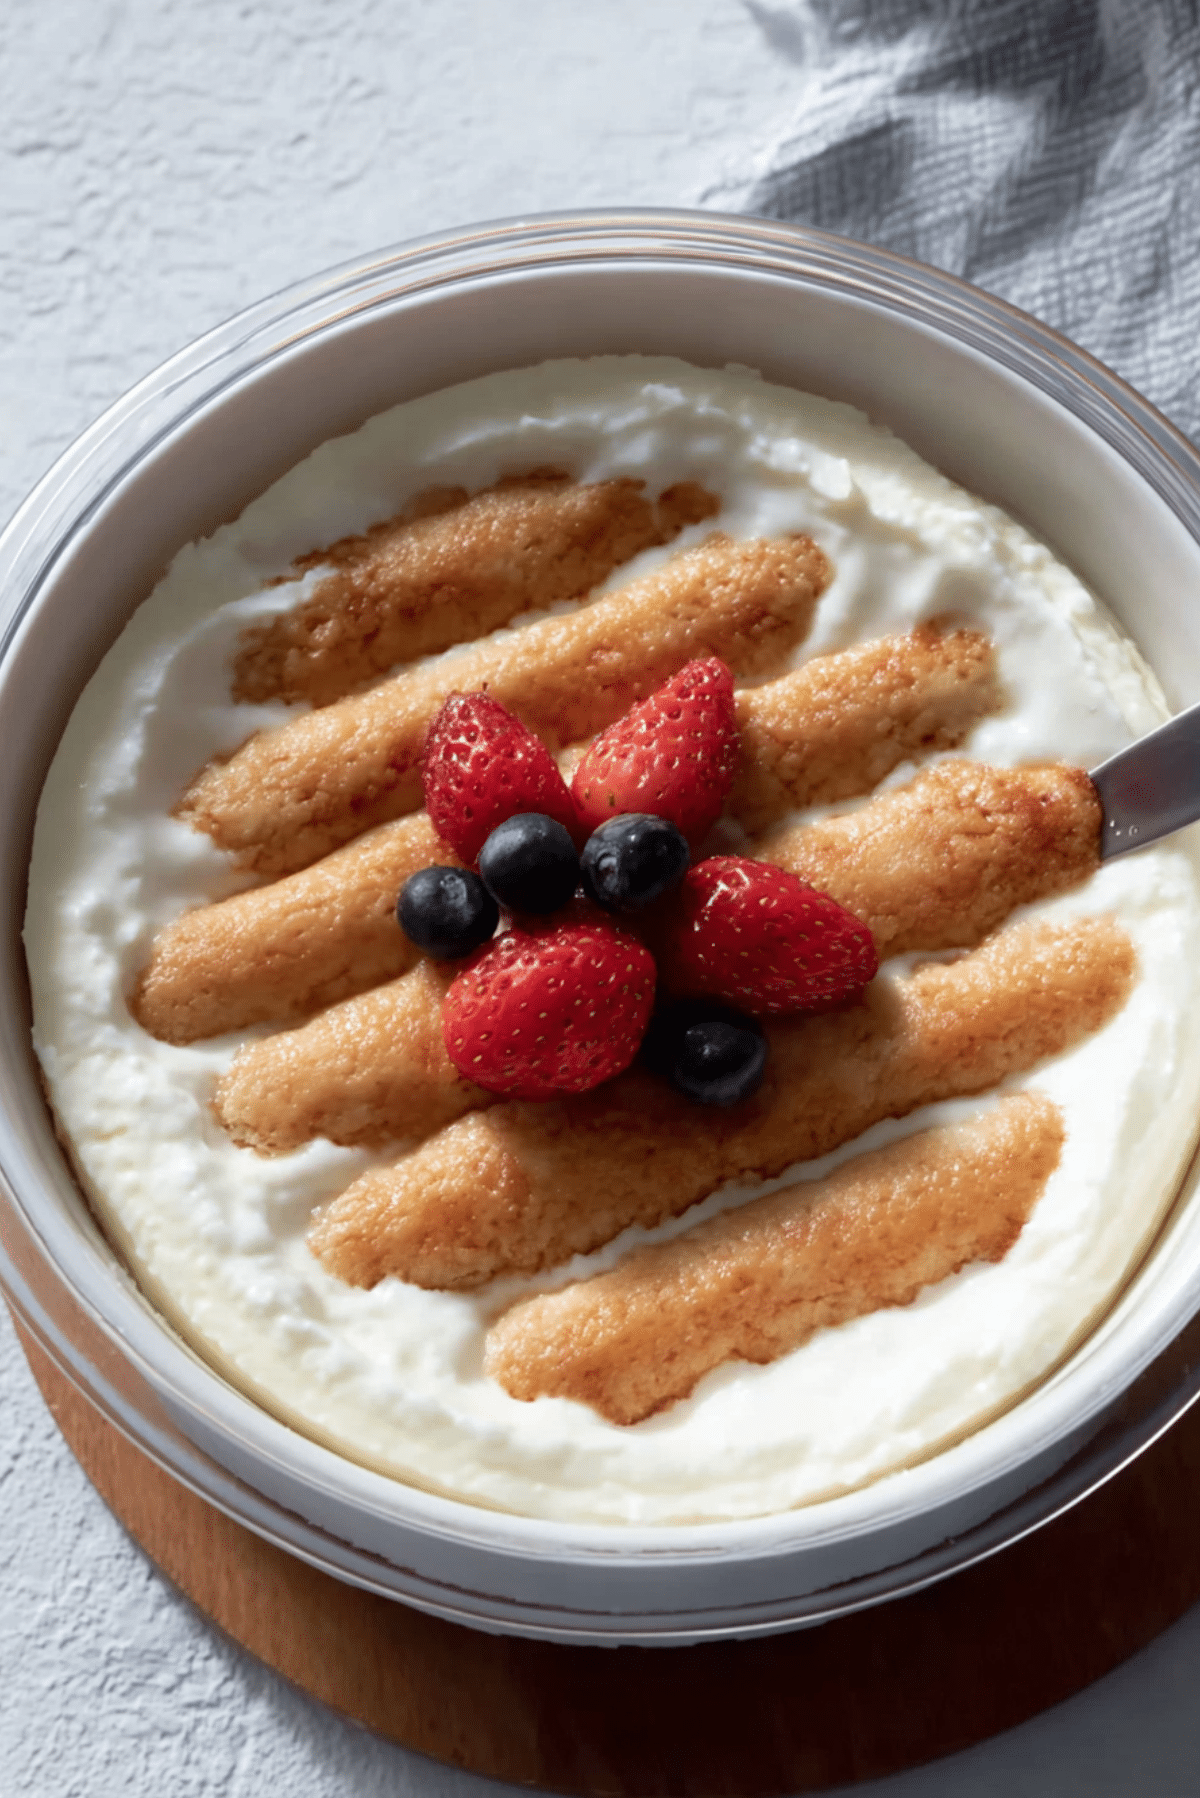
2 Ingredient Yogurt Cheesecake
If you’ve been looking for a simple yet indulgent dessert that doesn’t require hours in the kitchen, this 2 Ingredient Yogurt Cheesecake is exactly what you need. With just two basic ingredients and a few fresh toppings, you can make a creamy, rich cheesecake that will have everyone coming back for more. It’s the perfect combination of tangy yogurt and smooth, creamy texture – all without the fuss. Trust me, you’re going to love this!
Behind the Recipe
This cheesecake was born from the desire to create something delicious without the need for long, complicated preparation. Using only two ingredients yogurt and graham crackers—this dessert is all about simplicity. What makes it even better is that it’s a no-bake treat, so it’s the perfect choice for a last-minute gathering or a sweet snack on a lazy afternoon.
Recipe Origin or Trivia
While cheesecakes are often considered a traditional dessert, this 2 ingredient yogurt version is a modern twist. It simplifies the process of making cheesecake by eliminating the need for heavy cream, sugar, or a traditional crust. It’s a lighter take on the classic dessert, but still delivers the smooth and satisfying texture everyone loves.
Why You’ll Love 2 Ingredient Yogurt Cheesecake
This yogurt cheesecake is not only easy to make but also deliciously versatile. Whether you enjoy it plain or with your favorite fruit topping, it’s a treat that anyone can enjoy. Here’s why you’ll love it:
Versatile: You can swap out the berries for other fruits like mango, peaches, or even chocolate chips to change up the flavor.
Budget-Friendly: With just two ingredients, this cheesecake won’t break the bank, making it perfect for a quick dessert on a budget.
Quick and Easy: No baking, no fuss. Just mix and chill, and you’ve got a dessert ready to serve.
Customizable: Add a variety of toppings or mix-ins to suit your tastes. The possibilities are endless!
Crowd-Pleasing: It’s a simple dessert that’s sure to impress your guests, whether they’re cheesecake lovers or not.
Make-Ahead Friendly: This cheesecake can be made ahead of time, making it an ideal option for busy days.
Great for Leftovers: The cheesecake keeps well in the fridge, so you can enjoy it for a few days after making it.
Chef’s Pro Tips for Perfect Results
Want to take your yogurt cheesecake to the next level? Here are a few tips to help you get the best results:
- Use full-fat yogurt for a richer, creamier texture.
- Chill the cheesecake for at least 2 hours to ensure it firms up properly.
- Add a bit of vanilla extract or lemon zest to enhance the flavor if you want to experiment.
Kitchen Tools You’ll Need
Making this cheesecake is so simple, but having the right tools can make it even easier:
Mixing bowl: For combining your yogurt and graham crackers.
Pie dish or small round pan: To create the base for the cheesecake.
Spoon or spatula: To spread the mixture and smooth out the top.
Ingredients in 2 Ingredient Yogurt Cheesecake
The beauty of this recipe lies in its simplicity. Here’s what you’ll need:
- Plain yogurt: 2 cups – This forms the creamy base of the cheesecake, giving it that rich, smooth texture.
- Graham crackers: 1 ½ cups – Crushed graham crackers serve as the base, adding a slight crunch that contrasts perfectly with the creamy yogurt.
Ingredient Substitutions
If you’re looking to make a few changes, here are some great alternatives:
Plain yogurt: Greek yogurt or any unsweetened yogurt can be used for an even thicker texture.
Graham crackers: Digestive biscuits or any other simple cookie can serve as the crust alternative.
Ingredient Spotlight
Plain yogurt: Yogurt serves as the base for this cheesecake, providing that creamy texture while maintaining a light and refreshing flavor.

Instructions for Making 2 Ingredient Yogurt Cheesecake
Making this cheesecake is a breeze. Follow these easy steps:
Step 1: Preheat Your Equipment:
No need to worry about preheating anything. This is a no-bake recipe!
Step 2: Combine Ingredients:
In a large mixing bowl, combine your plain yogurt and crushed graham crackers. Stir well until you have a smooth mixture.
Step 3: Prepare Your Cooking Vessel:
Lightly grease or line a small round pie dish or pan with parchment paper. This will make it easier to remove the cheesecake later.
Step 4: Assemble the Dish:
Spoon the yogurt and graham cracker mixture into the prepared dish. Spread it out evenly and smooth the top with a spatula.
Step 5: Cook to Perfection:
Since this cheesecake is no-bake, place it in the fridge and chill for at least 2 hours to allow it to set and firm up.
Step 6: Finishing Touches:
Once chilled, you can top your cheesecake with fresh berries, a drizzle of honey, or even a dusting of powdered sugar for extra flair.
Step 7: Serve and Enjoy:
Slice and serve chilled. Enjoy the creamy, refreshing dessert with your favorite toppings!
Texture & Flavor Secrets
The yogurt gives this cheesecake a silky smooth texture, while the graham crackers add a satisfying crunch. The flavor is tangy and refreshing, with the graham crackers providing a sweet balance. It’s light yet satisfying perfect for a summer dessert.
Cooking Tips & Tricks
- Use full-fat yogurt for a creamier, more indulgent cheesecake.
- Chill the cheesecake for at least 2 hours to ensure it holds its shape.
- Feel free to add flavorings like vanilla extract or lemon zest to make it your own.
What to Avoid
- Don’t skip the chilling time it’s essential for the cheesecake to firm up properly.
- Make sure your graham crackers are finely crushed to avoid any large chunks in the crust.
Nutrition Facts
Servings: 4
Calories per serving: 180
Note: These are approximate values.
Preparation Time
Prep Time: 10 minutes
Cook Time: 0 minutes
Total Time: 2 hours 10 minutes
Make-Ahead and Storage Tips
You can easily make this cheesecake ahead of time. Store it in the fridge for up to 3 days. It’s best served chilled.
How to Serve 2 Ingredient Yogurt Cheesecake
Top your cheesecake with fresh berries, a drizzle of honey, or a sprinkle of chocolate shavings. You can also serve it with a side of whipped cream for extra indulgence.
Creative Leftover Transformations
Leftover cheesecake can be repurposed into parfaits. Simply layer the cheesecake with fresh fruit and granola for a quick and tasty breakfast or snack.
Additional Tips
- For a gluten-free version, swap the graham crackers for a gluten-free cookie.
- To make it sweeter, feel free to stir in a little honey or maple syrup into the yogurt before mixing.
Make It a Showstopper
Serve your cheesecake with a decorative touch—perhaps a dusting of powdered sugar or a few sprigs of mint. It’s a simple way to elevate your dessert visually without much effort.
Variations to Try
- Berry Bliss: Top the cheesecake with fresh mixed berries for a burst of flavor.
- Chocolate Lovers: Add some chocolate chips into the yogurt mix for a rich, indulgent treat.
- Citrus Twist: Add a little zest of lemon or orange to the yogurt for a refreshing, tangy flavor.
FAQ’s
Q1: Can I use flavored yogurt for this recipe?
A1: Absolutely! You can use flavored yogurt for a fun twist on the classic.
Q2: Can I make this cheesecake dairy-free?
A2: Yes, substitute the yogurt with a non-dairy alternative like coconut yogurt.
Q3: Can I freeze this cheesecake?
A3: You can freeze the cheesecake, but it’s best enjoyed fresh.
Q4: How do I know when the cheesecake is ready?
A4: The cheesecake will firm up when chilled for at least 2 hours. If it’s still soft, let it chill longer.
Q5: Can I add toppings before chilling the cheesecake?
A5: It’s best to add toppings after chilling to keep them fresh and visually appealing.
Q6: Can I use any kind of crackers?
A6: Yes, but graham crackers provide the classic cheesecake flavor. Feel free to experiment with other types of crackers.
Q7: How long does this cheesecake last?
A7: It stays fresh for about 3 days in the fridge.
Q8: Can I add sweeteners to the yogurt?
A8: Yes, you can add honey, maple syrup, or another sweetener to taste.
Q9: Can I make this into individual servings?
A9: Yes, you can portion the cheesecake into individual cups or small bowls.
Q10: Is this cheesecake suitable for kids?
A10: Yes, this simple and tasty dessert is perfect for kids, especially with fruit toppings!
Conclusion
This 2 Ingredient Yogurt Cheesecake is a game-changer. It’s simple, light, and absolutely delicious, making it the perfect go-to dessert for any occasion. Whether you’re hosting a gathering or simply craving something sweet, this recipe is one you’ll want to keep on hand. Let me tell you, it’s worth every bite!
Print
2 Ingredient Yogurt Cheesecake
- Prep Time: 20 minutes
- Cook Time: 10 minutes
- Total Time: 30 minutes
- Yield: 4 servings 1x
- Category: Appetizer
- Method: Frying
- Cuisine: European
- Diet: Vegetarian
Description
These crispy potato balls are the ultimate comfort food, featuring a golden-brown crunchy shell and a soft, cheesy interior. Perfect as a snack, appetizer, or party treat, they’re easy to make and even easier to love.
Ingredients
- 4 medium potatoes, boiled and mashed
- 1/2 cup shredded mozzarella cheese
- 1 cup breadcrumbs
- 2 large eggs
- 1/4 cup flour
- 1 teaspoon salt
- 1/2 teaspoon pepper
- 1 tablespoon chopped parsley
Instructions
- Peel and boil the potatoes until fork tender. Drain and mash until smooth.
- Mix mashed potatoes with mozzarella cheese, salt, pepper, parsley, and 1/4 cup breadcrumbs.
- Form the mixture into small balls and chill in the refrigerator for 15-20 minutes.
- Prepare separate bowls with flour, beaten eggs, and remaining breadcrumbs.
- Coat each ball first in flour, then egg, then breadcrumbs.
- Heat oil in a frying pan to 350°F (175°C).
- Fry the balls in batches for 3-4 minutes or until golden and crispy.
- Remove and drain on paper towels. Serve hot with dipping sauce.
Notes
- Use cold mashed potatoes for better shaping.
- Double-coat with breadcrumbs for extra crunch.
- Chill shaped balls before frying to prevent breaking.
Nutrition
- Serving Size: 1 portion
- Calories: 250
- Sugar: 1g
- Sodium: 420mg
- Fat: 12g
- Saturated Fat: 4g
- Unsaturated Fat: 6g
- Trans Fat: 0g
- Carbohydrates: 28g
- Fiber: 3g
- Protein: 7g
- Cholesterol: 55mg
Keywords: crispy potato balls, mashed potato snacks, cheesy potato bites, party appetizers, vegetarian snack