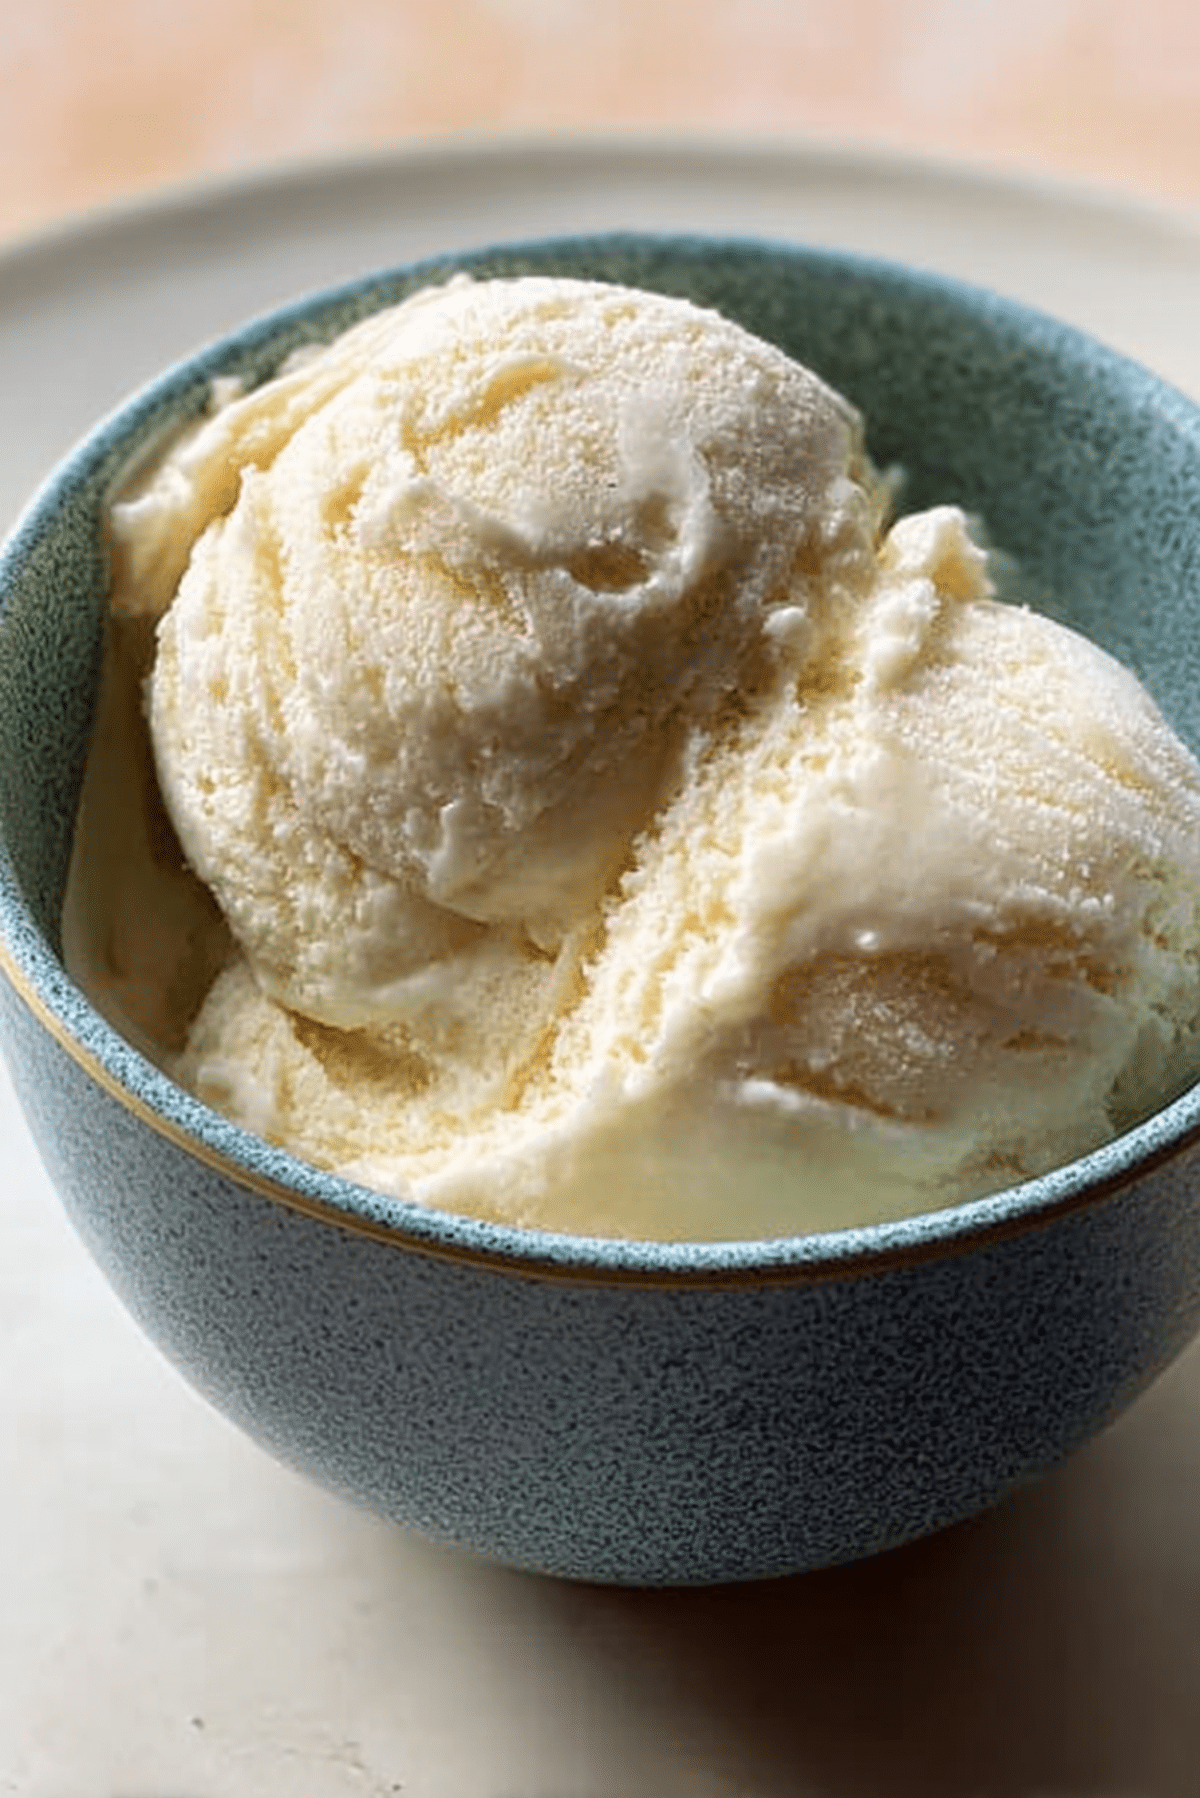
Easy Banana Ice Cream
There is something quietly magical about turning a few simple ingredients into something so creamy, so naturally sweet, and honestly, so satisfying. This easy banana ice cream is one of those little kitchen wins that feels almost too good to be true. No complicated steps, no fancy equipment, just pure comfort in a bowl. Trust me, you’re going to love this.
A Simple Treat That Feels Like Pure Comfort
You know those moments when you want dessert but also want to keep things light and wholesome? This is exactly where this recipe shines. It is smooth, naturally sweet, and has that soft, scoopable texture that melts gently with every bite.
And the best part, it feels indulgent without actually being heavy. It is the kind of treat you can enjoy any time of the day without overthinking it. Let me tell you, it’s worth every bite.
A Little Story Behind This Frozen Favorite
Banana-based frozen desserts have been around for quite a while, especially in health-conscious kitchens. The idea started as a clever way to use overripe bananas instead of letting them go to waste.
Over time, it became a go-to for anyone looking for a dairy-light or naturally sweet dessert. What began as a simple trick turned into a beloved staple in many homes, and now it is one of those recipes people keep coming back to again and again.
Why This Recipe Just Works Every Time
Before we dive into the details, let’s talk about why this one stands out.
Versatile: You can enjoy it plain or dress it up with toppings like nuts or chocolate chips. It adapts to your mood effortlessly.
Budget-Friendly: Bananas are affordable and easy to find, making this a low-cost dessert that still feels special.
Quick and Easy: With minimal prep and simple steps, you can have this ready without stress.
Customizable: Add flavors like cocoa powder or peanut butter to make it your own.
Crowd-Pleasing: Kids and adults both love it, which makes it perfect for sharing.
Make-Ahead Friendly: You can prepare it in advance and keep it ready in the freezer.
Great for Leftovers: Extra servings store beautifully and taste just as good later.
Chef Tips That Make All the Difference
Before we start mixing, here are a few insider tips to get that perfect creamy texture.
- Use very ripe bananas, the ones with brown spots, because they are sweeter and softer.
- Freeze the bananas in slices so they blend more easily.
- Blend in short bursts to avoid overheating the mixture.
- Add milk gradually to control the consistency.
Kitchen Tools You’ll Want Ready
Now let’s gather what you need so everything flows smoothly.
Blender or Food Processor: This is essential for creating that creamy texture.
Knife: For slicing the bananas before freezing.
Freezer-Safe Container: To store and firm up the mixture.
Spatula: Helps scrape down the sides while blending.
Ingredients That Come Together Beautifully
And now let’s dive into the ingredients that make this so special.
- Ripe Bananas: 4 large bananas, sliced and frozen, they provide natural sweetness and creamy texture.
- Milk: 1/4 cup, helps blend everything smoothly and adds a touch of richness.
- Honey: 2 tablespoons, enhances the sweetness without overpowering the banana flavor.
- Vanilla Extract: 1 teaspoon, adds warmth and depth to the overall taste.
Easy Swaps If You Want to Experiment
Sometimes you want to tweak things a bit, and that works perfectly here.
Milk: Use almond milk or oat milk for a lighter option.
Honey: Replace with maple syrup if you prefer a different natural sweetener.
Vanilla Extract: Try a pinch of cinnamon for a warm twist.
Ingredients Worth Highlighting
Let’s take a moment to appreciate what really makes this shine.
Ripe Bananas: They are the heart of this recipe, creating that creamy, almost ice cream-like texture without needing heavy ingredients.
Vanilla Extract: It quietly enhances every spoonful, making the flavor feel complete and comforting.

Let’s Make It Together Step by Step
Alright, now let’s dive into the fun part where everything comes together.
- Preheat Your Equipment: Place your blender or food processor on the counter and make sure it is clean and ready to go.
- Combine Ingredients: Add the frozen banana slices, milk, honey, and vanilla extract into the blender.
- Prepare Your Cooking Vessel: Have your freezer-safe container ready nearby for quick transfer.
- Assemble the Dish: Blend the mixture until smooth and creamy, scraping down the sides as needed.
- Cook to Perfection: Continue blending until the texture is thick, soft, and scoopable.
- Finishing Touches: Taste and adjust sweetness if needed, then transfer to the container.
- Serve and Enjoy: Serve immediately for a soft texture or freeze for 1 to 2 hours for a firmer scoop.
The Texture and Flavor You’ll Fall For
This is where things get really exciting. The texture is silky and smooth, almost like traditional ice cream but lighter. The banana brings a natural sweetness, while the vanilla adds a soft, comforting aroma.
Each bite feels creamy yet refreshing, with a gentle melt that keeps you coming back for another spoonful.
Helpful Tips for the Best Results
As you make this again and again, keep these tips in mind.
- Use frozen bananas only, fresh ones will not give the same texture
- Blend patiently to avoid lumps
- Adjust milk slowly to keep the mixture thick
What to Watch Out For While Making It
Even simple recipes have a few things to keep an eye on.
- Adding too much liquid can make it runny, so go slow
- Not freezing bananas properly can affect texture
- Over-blending can warm the mixture and make it too soft
Nutrition Snapshot You Should Know
Servings: 4
Calories per serving: 120
Note: These are approximate values.
Time Breakdown for This Recipe
Prep Time: 10 minutes
Cook Time: 0 minutes
Total Time: 10 minutes
Make Ahead and Storage Made Simple
If you want to plan ahead, this recipe is perfect for that. You can prepare it and store it in an airtight container in the freezer for up to one week.
When ready to enjoy, let it sit at room temperature for a few minutes to soften slightly before scooping.
How to Serve This Creamy Delight
Serve it in chilled bowls for a refreshing touch. You can also top it with sliced fruits, a drizzle of honey, or a sprinkle of nuts for added texture.
It also works beautifully as a side to warm desserts, creating that perfect contrast.
Fun Ways to Use the Leftovers
If you somehow have leftovers, here are a few ideas.
Blend it into a smoothie for a creamy drink, spread it between cookies for a quick sandwich, or use it as a topping for pancakes.
Extra Tips for Even Better Results
Keep your bananas stocked in the freezer so you can make this anytime. Always taste before freezing, and adjust sweetness if needed.
Turn It Into a Showstopper
For a more elegant presentation, scoop it into neat rounds and garnish with fresh fruit slices. A small drizzle of honey on top makes it look and taste amazing.
Variations You Might Want to Try
Add cocoa powder for a chocolate version, mix in peanut butter for richness, or blend with strawberries for a fruity twist. You can also add a handful of oats for a slightly thicker texture.
FAQ’s
1. Can I make this without milk?
Yes, you can skip the milk, but blending may take a bit longer.
2. Can I use frozen store-bought bananas?
Yes, as long as they are ripe before freezing.
3. How long can I store it?
Up to one week in the freezer.
4. Can I make it sweeter?
Yes, just add a bit more honey to taste.
5. Is it suitable for kids?
Absolutely, it is naturally sweet and simple.
6. Can I refreeze it after melting?
It is best enjoyed fresh, but you can refreeze it once.
7. What blender works best?
Any high-speed blender or food processor works well.
8. Can I add toppings?
Yes, nuts, chocolate chips, or fruits work great.
9. Why is my texture icy?
This can happen if bananas are not ripe enough.
10. Can I double the recipe?
Yes, just make sure your blender can handle the volume.
Conclusion
There is something so satisfying about making a dessert this simple and this good. It is quick, it is wholesome, and it delivers that creamy comfort we all crave. This one’s a total game-changer, especially when you want something sweet without the fuss. Give it a try and see how it becomes a favorite in your kitchen too.
Print
Easy Banana Ice Cream
- Prep Time: 10 minutes
- Cook Time: 0 minutes
- Total Time: 10 minutes
- Yield: 4 servings 1x
- Category: Dessert
- Method: Blending
- Cuisine: International
- Diet: Vegetarian
Description
A creamy and naturally sweet frozen dessert made with ripe bananas, blended into a smooth and satisfying treat that feels indulgent yet light.
Ingredients
- 4 large ripe bananas, sliced and frozen
- 1/4 cup milk
- 2 tablespoons honey
- 1 teaspoon vanilla extract
Instructions
- Preheat Your Equipment: Place your blender or food processor on the counter and make sure it is clean and ready.
- Combine Ingredients: Add the frozen banana slices, milk, honey, and vanilla extract into the blender.
- Prepare Your Cooking Vessel: Keep a freezer-safe container ready for transferring the mixture.
- Assemble the Dish: Blend until smooth and creamy, scraping down the sides as needed.
- Cook to Perfection: Continue blending until the mixture becomes thick and scoopable.
- Finishing Touches: Taste and adjust sweetness if needed, then transfer to the container.
- Serve and Enjoy: Serve immediately for a soft texture or freeze for 1 to 2 hours for a firmer consistency.
Notes
- Use very ripe bananas for the best sweetness and texture
- Freeze bananas in slices for easier blending
- Add milk gradually to control consistency
- Let frozen ice cream sit a few minutes before scooping
Nutrition
- Serving Size: 1 serving
- Calories: 120
- Sugar: 17g
- Sodium: 20mg
- Fat: 2g
- Saturated Fat: 1g
- Unsaturated Fat: 1g
- Trans Fat: 0g
- Carbohydrates: 27g
- Fiber: 3g
- Protein: 2g
- Cholesterol: 5mg
Keywords: banana ice cream, easy frozen dessert, healthy ice cream, homemade banana dessert, quick ice cream