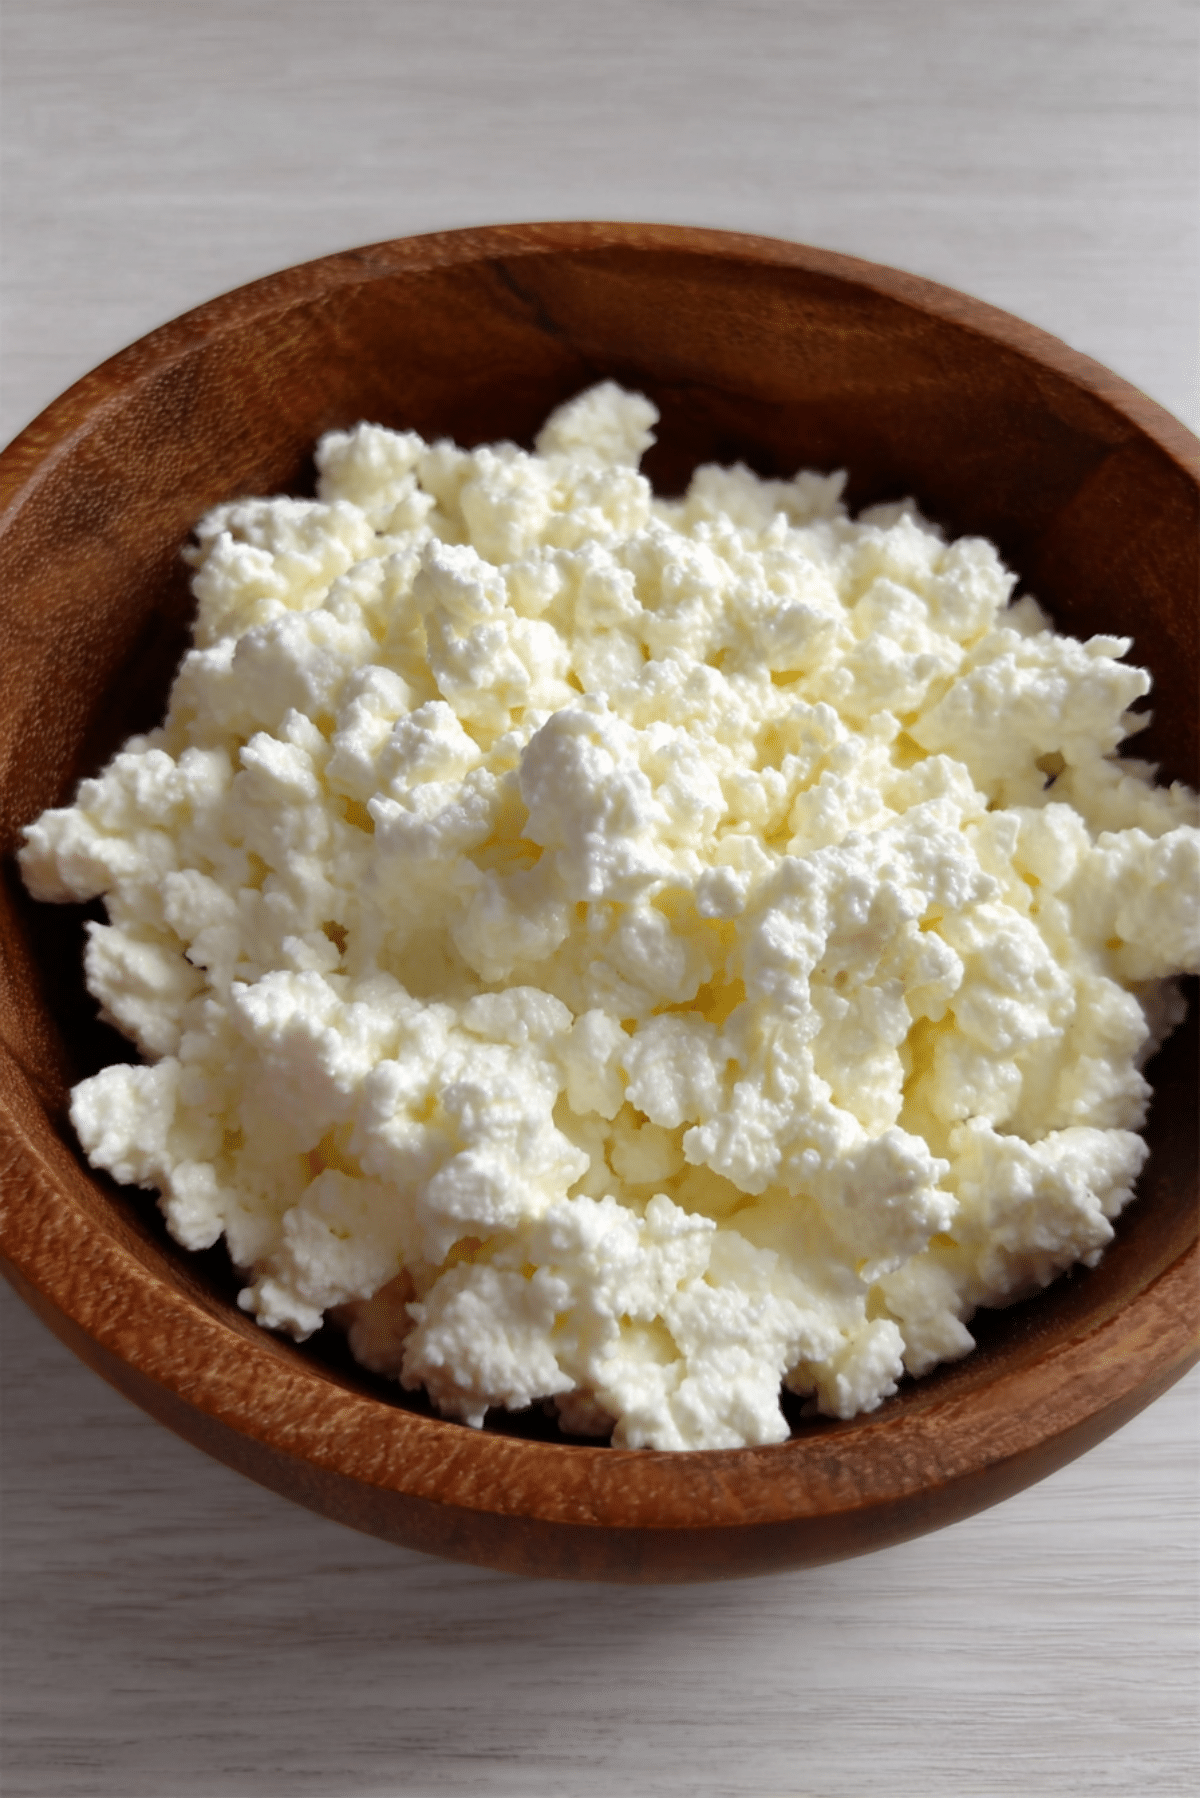
Homemade Cottage Cheese
There is something quietly satisfying about making your own cheese at home, and this one is as simple as it gets. Soft, milky curds that feel fresh and slightly tangy, with just a hint of salt to bring everything together. The first time I made it, I could not believe how quickly milk transformed into something so comforting. Trust me, you are going to love this.
Why This Simple Cheese Will Surprise You
It starts with just a few humble ingredients, yet the result feels like something special. The texture is soft and pillowy, almost cloud-like, with a gentle richness that feels both light and satisfying. And now let’s dive a little deeper into where this cozy creation comes from.
A Little Story Behind This Classic Dairy Staple
Cottage cheese has been around for centuries, often made in small homes using leftover milk. It earned its name because it was traditionally made in cottages from simple pantry staples. Across different cultures, variations exist, but the heart of it remains the same, fresh curds, minimal processing, and pure flavor.
Why You Will Keep Coming Back to This Recipe
Once you try it, it becomes one of those things you make again and again.
Versatile: You can enjoy it sweet with fruit or savory with herbs, it fits into any meal effortlessly.
Budget-Friendly: Just a few basic ingredients turn into something that feels gourmet without the cost.
Quick and Easy: No complicated steps, no special skills needed, just simple transformation.
Customizable: Adjust the salt, texture, or even creaminess to suit your taste.
Crowd-Pleasing: It is mild, creamy, and loved by both kids and adults.
Make-Ahead Friendly: You can prepare it in advance and store it easily.
Great for Leftovers: It works beautifully in salads, spreads, or even baked dishes.
Tips From My Kitchen to Yours
Before we start cooking, a few little insights can make a big difference.
- Use fresh milk for the best flavor and texture.
- Heat gently, rushing this step can affect how the curds form.
- Stir slowly to keep the curds soft and tender.
- Taste before serving so you can adjust the salt just right.
Tools That Make It All Come Together
Having the right tools makes the process smooth and enjoyable.
Large Pot: For gently heating the milk evenly.
Thermometer: Helps you keep the temperature just right.
Slotted Spoon: Perfect for lifting the curds without breaking them.
Cheesecloth: Essential for draining the whey and shaping the curds.
Colander: Supports the draining process and keeps things tidy.
Ingredients That Create Magic
It is amazing how a few simple ingredients come together so beautifully.
- Whole Milk: 1 gallon, this is the base and gives rich, creamy curds.
- White Vinegar: 1/4 cup, helps separate the curds from the whey.
- Salt: 1 teaspoon, enhances flavor and balances the tanginess.
Flexible Swaps You Can Try
If you want to tweak things a bit, here are some easy swaps.
Whole Milk: You can use 2 percent milk for a lighter texture.
White Vinegar: Lemon juice works as a natural alternative.
Salt: Try sea salt or skip it for a more neutral flavor.
The Star Ingredients That Shine
Some ingredients really define the character of this dish.
Whole Milk: This is where the creaminess comes from, so quality matters.
White Vinegar: It quietly does the magic, turning liquid into soft curds.

Let’s Get Cooking Together
Now comes the fun part, and it is easier than you think.
- Preheat Your Equipment: Place your pot on the stove and prepare your thermometer and tools.
- Combine Ingredients: Pour the milk into the pot and heat gently until it reaches about 180°F, then remove from heat and stir in the vinegar slowly.
- Prepare Your Cooking Vessel: Let the mixture sit undisturbed so the curds can fully separate from the whey.
- Assemble the Dish: Line a colander with cheesecloth and carefully pour the mixture through it.
- Cook to Perfection: Allow the curds to drain for several minutes until you reach your desired texture.
- Finishing Touches: Sprinkle in the salt and gently mix to combine.
- Serve and Enjoy: Scoop into a bowl and enjoy fresh, or chill slightly for a firmer texture.
Texture and Flavor, What to Expect
The curds are soft and slightly springy, with a mild tang that feels refreshing. As you take a bite, you get that gentle creaminess followed by a clean finish. It is simple, yet deeply satisfying.
Helpful Tips for the Best Results
A few small details can really elevate the final result.
- Use low heat to avoid tough curds.
- Do not over stir once the curds form.
- Adjust draining time depending on how creamy you like it.
What to Avoid for Perfect Curds
Even simple recipes have a few things to watch out for.
- Overheating the milk, which can make the texture rubbery.
- Adding too much vinegar, which can overpower the flavor.
- Skipping the draining step, which leaves it too watery.
Nutrition Facts You Should Know
Servings: 6
Calories per serving: 120
Note: These are approximate values.
Time Breakdown for This Recipe
Prep Time: 10 minutes
Cook Time: 20 minutes
Total Time: 30 minutes
Make Ahead and Storage Tips
You can easily make this ahead and keep it fresh. Store it in an airtight container in the fridge for up to 4 days. If you want to prepare it in advance, simply drain and refrigerate, then stir before serving. Freezing is not recommended since it can affect the texture.
How to Serve It for Maximum Enjoyment
Serve it chilled with fresh fruit, drizzle a little honey for sweetness, or add herbs and olive oil for a savory twist. It also pairs beautifully with toast or crackers.
Creative Ways to Use Leftovers
If you have extra, do not worry, it gets even better.
- Mix into scrambled eggs for extra creaminess.
- Spread on toast with avocado.
- Add to salads for a protein boost.
Extra Tips to Make It Even Better
A splash of cream can make it richer, while a pinch of black pepper adds a subtle kick. Play around and find your favorite version.
Turn It Into a Showstopper
Serve it in a rustic bowl, garnish with fresh herbs, and drizzle with a little olive oil. The contrast of white curds with green herbs looks absolutely stunning.
Fun Variations to Try
- Add chopped chives for a fresh flavor.
- Mix with a bit of cream for extra richness.
- Blend slightly for a smoother texture.
- Add garlic powder for a savory twist.
FAQ’s
Q1: Can I use low-fat milk?
Yes, but the texture will be less creamy.
Q2: How do I make it less tangy?
Use slightly less vinegar and rinse the curds lightly.
Q3: Can I store it longer than 4 days?
It is best fresh, but up to 4 days is safe if refrigerated properly.
Q4: Why are my curds too small?
The milk may have been stirred too much during heating.
Q5: Can I add cream?
Yes, it makes the texture richer and smoother.
Q6: What if it does not curdle?
The milk may not have been hot enough.
Q7: Is this recipe vegetarian?
Yes, it contains no animal rennet.
Q8: Can I flavor it?
Absolutely, herbs, spices, or even fruit work well.
Q9: Can I use apple cider vinegar?
Yes, it will add a slightly different flavor.
Q10: How do I make it firmer?
Drain it longer to remove more whey.
Conclusion
Making this at home feels like a small kitchen victory. It is simple, comforting, and incredibly rewarding. Once you try it, you will see just how easy it is to create something fresh and delicious from scratch. Let me tell you, it is worth every bite.
Print
Homemade Cottage Cheese
- Prep Time: 10 minutes
- Cook Time: 20 minutes
- Total Time: 30 minutes
- Yield: 6 servings 1x
- Category: Dairy
- Method: Stovetop
- Cuisine: International
- Diet: Vegetarian
Description
A simple and fresh homemade cottage cheese with soft, creamy curds and a light tangy flavor, perfect for both sweet and savory dishes.
Ingredients
- 1 gallon whole milk
- 1/4 cup white vinegar
- 1 teaspoon salt
Instructions
- Pour the milk into a large pot and heat gently until it reaches about 180°F.
- Remove from heat and slowly stir in the white vinegar.
- Let the mixture sit undisturbed for 10 minutes until curds separate from the whey.
- Line a colander with cheesecloth and carefully pour the mixture through it.
- Allow the curds to drain for several minutes until desired texture is reached.
- Transfer the curds to a bowl and gently mix in the salt.
- Serve immediately or chill slightly before enjoying.
Notes
- Use fresh milk for the best flavor and texture.
- Do not overheat the milk to avoid rubbery curds.
- Adjust draining time for creamier or firmer texture.
- You can add a splash of cream for extra richness.
Nutrition
- Serving Size: 1 serving
- Calories: 120
- Sugar: 5g
- Sodium: 200mg
- Fat: 6g
- Saturated Fat: 3.5g
- Unsaturated Fat: 2g
- Trans Fat: 0g
- Carbohydrates: 6g
- Fiber: 0g
- Protein: 10g
- Cholesterol: 20mg
Keywords: homemade cottage cheese, fresh cheese, easy cheese recipe, soft curds, dairy recipe