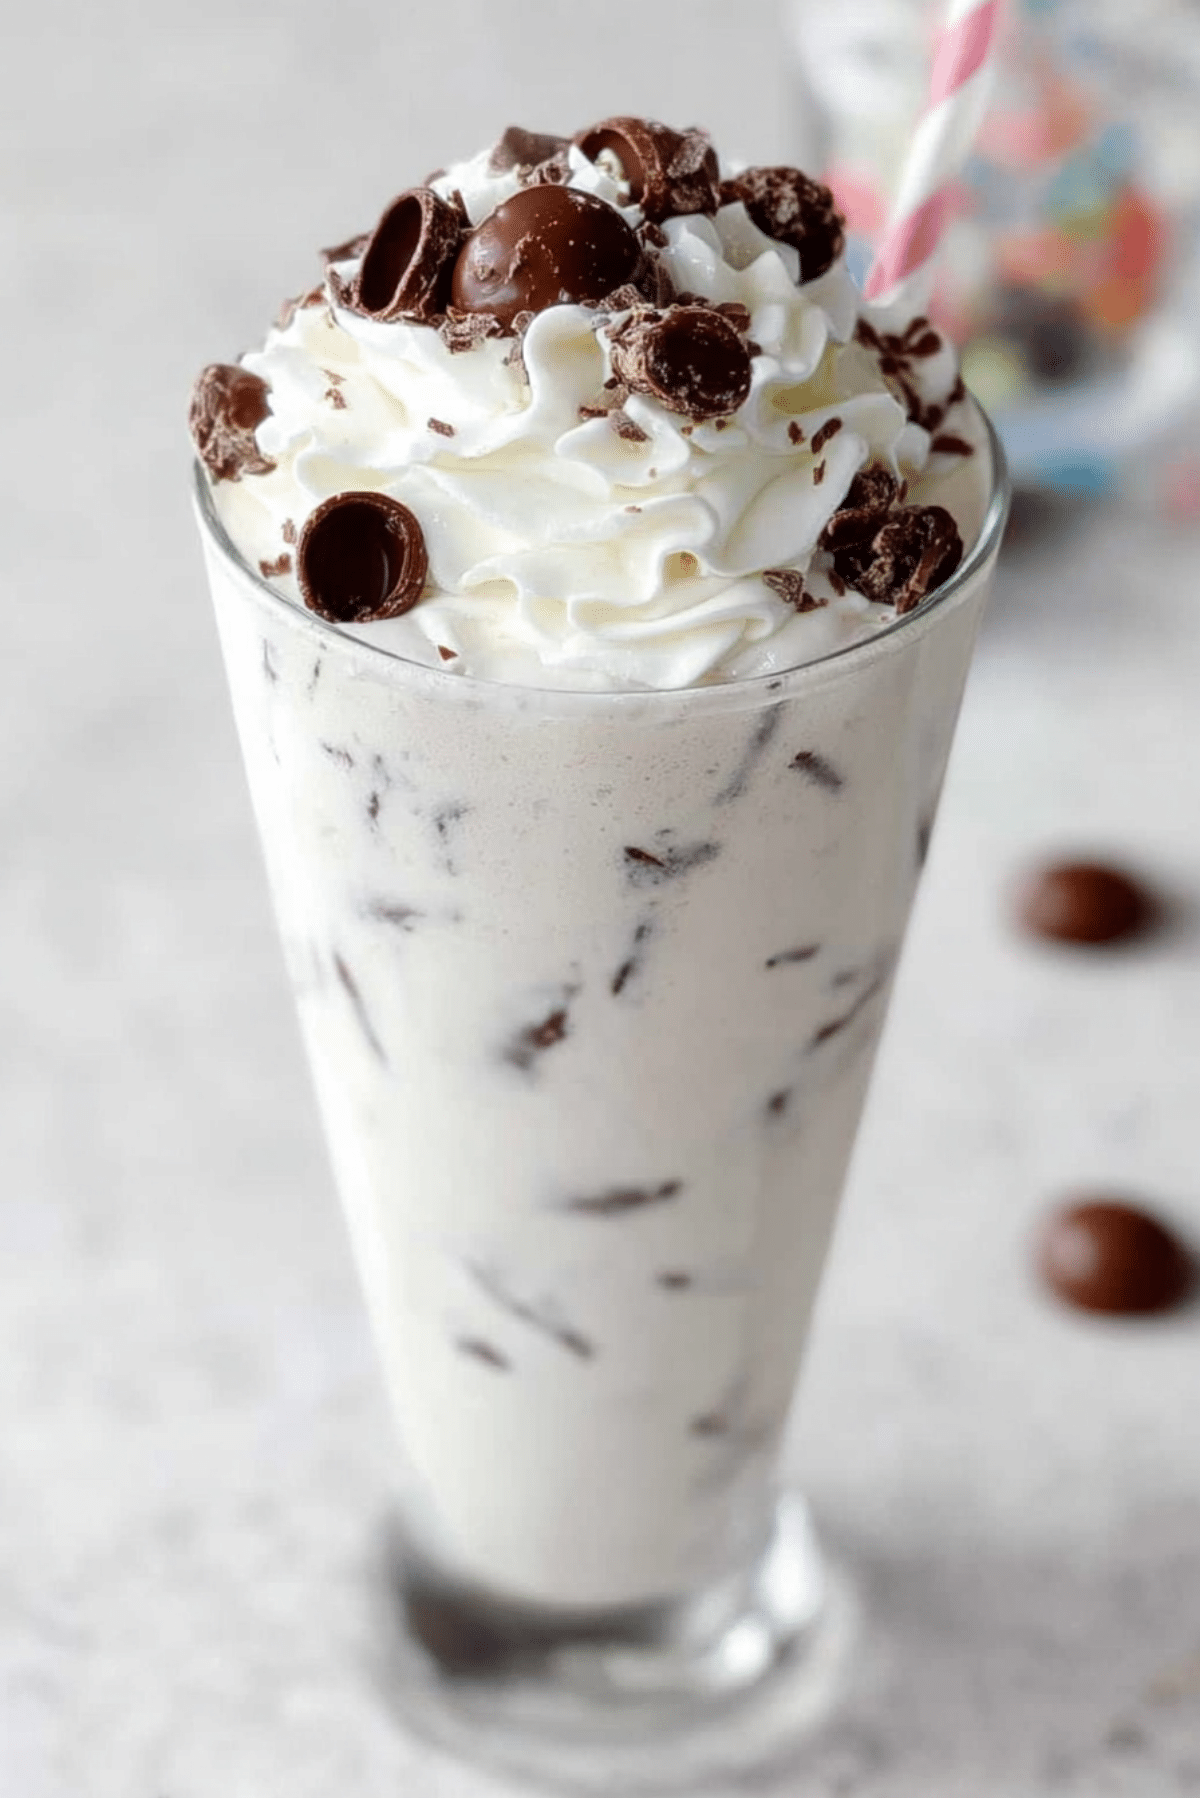
Homemade DQ Blizzards
There is something almost magical about that first thick spoonful of a Blizzard. Creamy vanilla, chunks of chocolate candy, and that smooth frozen texture that feels halfway between a milkshake and ice cream. The good news is you do not have to run to the drive thru every time the craving hits. This homemade version brings that same thick, candy packed experience right into your own kitchen.
What makes it even better is how surprisingly simple it is. With just a few ingredients and a blender, you can recreate that iconic frozen dessert in minutes. Trust me, you’re going to love this. One sip and you will understand why this treat has stayed popular for decades.
Why This Creamy Frozen Treat Always Hits the Spot
Some desserts are good, and some are unforgettable. This one sits right in the middle of comfort and indulgence. The thick vanilla base blends beautifully with crunchy chocolate candy pieces, creating that classic texture everyone loves.
Each spoonful gives you a creamy bite followed by a little chocolate crunch, and that contrast is what makes it so satisfying. It feels rich, cold, and refreshing all at once. Let me tell you, it is worth every bite.
And the best part is that you control everything. You can make it thicker, sweeter, or packed with even more candy.
A Quick Look at the Story Behind the Blizzard Craze
The Blizzard first became famous in the mid 1980s when Dairy Queen introduced a frozen dessert that was so thick it could be served upside down without spilling. That playful moment became part of the brand’s identity.
The idea was simple. Blend soft serve ice cream with candy, cookies, or chocolate pieces to create a thick frozen dessert that could be customized endlessly.
Since then it has become one of the most recognizable frozen treats in North America. The homemade version captures that same thick, candy filled experience while letting you enjoy it anytime.
Why This Recipe Works So Well Every Time
There are many frozen desserts out there, but this one stands out for a few very practical reasons.
Versatile: You can mix in almost any candy or topping you love, making each batch a little different.
Budget-Friendly: Instead of buying individual cups from a store, you can make several servings at home for the same cost.
Quick and Easy: From blender to glass, the entire process takes only a few minutes.
Customizable: Adjust the sweetness, thickness, or toppings to match your taste.
Crowd-Pleasing: Kids and adults both light up when they see a tall glass filled with this creamy dessert.
Make-Ahead Friendly: You can prepare the mixture ahead and freeze it briefly for an even thicker result.
Great for Leftovers: Extra servings can be frozen and blended again later for a quick treat.
Pro Tips for Achieving That Perfect Blizzard Texture
The secret to a great homemade version is the texture. It should be thick, creamy, and loaded with candy pieces.
Here are a few insider tricks to help you get it just right.
- Use slightly softened ice cream so it blends smoothly without becoming runny.
- Add milk gradually so you control the thickness.
- Fold in some candy pieces after blending to keep the chunks large.
- Chill your glass for a few minutes before serving for an extra cold dessert.
Kitchen Tools That Make the Process Easy
Before we start blending, let’s gather the tools that will make the process simple and smooth.
Blender: This is the main tool that creates the thick and creamy consistency.
Tall Glass: A tall glass helps show off the beautiful layers of ice cream and candy.
Spatula: Useful for scraping down the sides of the blender.
Spoon: The best way to enjoy every thick, creamy bite.
Ingredients That Create the Perfect Blizzard
The beauty of this dessert lies in its simplicity. Just a few ingredients combine to create something rich and satisfying.
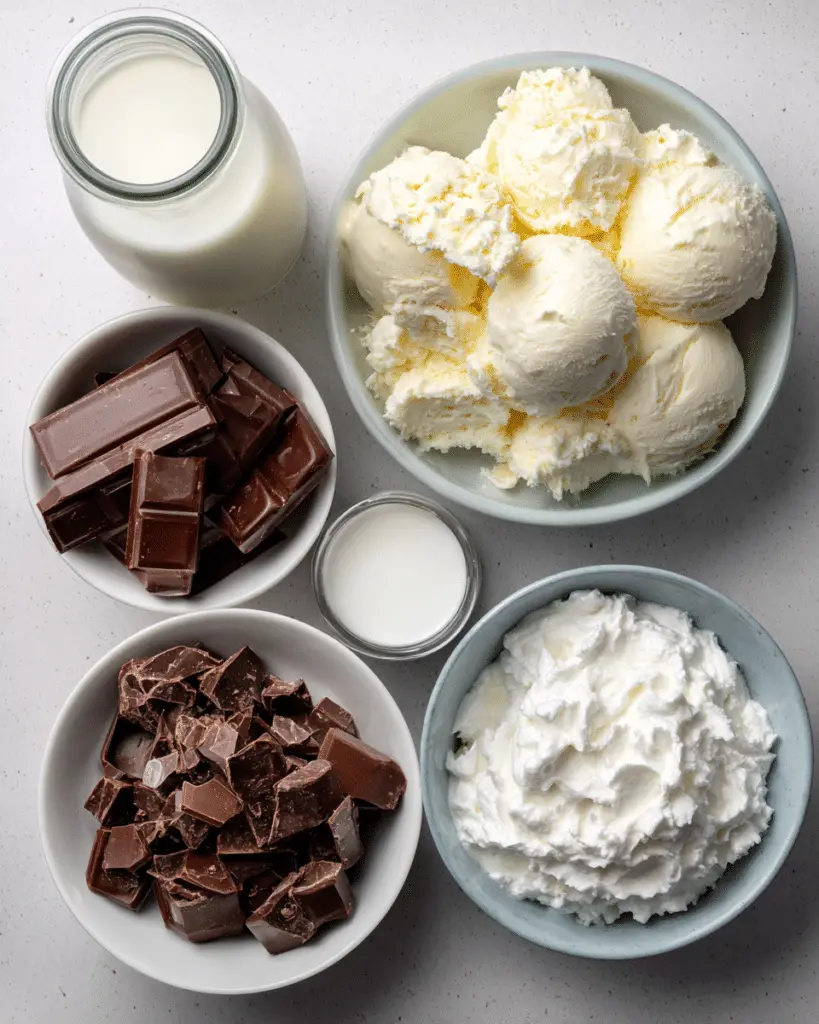
- Vanilla Ice Cream: 3 cups. The creamy base that gives the dessert its classic flavor and thick texture.
- Milk: 1/2 cup. Helps blend the ice cream smoothly while keeping the mixture drinkable but thick.
- Chocolate Candy Pieces: 3/4 cup. Adds the crunchy chocolate bursts throughout the dessert.
- Whipped Cream: 1/2 cup. Used as a topping that makes the final presentation extra indulgent.
Easy Ingredient Swaps You Can Try
Sometimes it is fun to experiment, and this dessert is perfect for that.
Vanilla Ice Cream: Chocolate ice cream or cookies and cream.
Milk: Almond milk or oat milk.
Chocolate Candy Pieces: Crushed cookies, brownie pieces, or chocolate chips.
Whipped Cream: Chocolate whipped topping.
The Star Ingredient That Makes the Magic
Some ingredients simply steal the show.
Chocolate Candy Pieces: These little bites bring the signature crunch and chocolate flavor that defines the entire dessert. Without them, it would just be a milkshake. With them, it becomes a Blizzard style treat.
Let’s Blend This Frozen Treat Together
Now comes the fun part. Making this dessert is fast, easy, and honestly a little satisfying to watch.
Preheat Your Equipment:
Place your serving glass in the freezer for about 5 minutes so the dessert stays colder longer.
Combine Ingredients:
Add the vanilla ice cream and milk to the blender. Blend for about 20 seconds until smooth but still thick.
Prepare Your Cooking Vessel:
Make sure the blender is ready and scrape down the sides if needed to ensure everything blends evenly.
Assemble the Dish:
Add the chocolate candy pieces to the blender and pulse briefly so they mix in without fully breaking apart.
Cook to Perfection:
Blend just a few seconds more until the mixture becomes thick, creamy, and packed with chocolate pieces.
Finishing Touches:
Pour the mixture into the chilled glass and top it with whipped cream and extra candy pieces.
Serve and Enjoy:
Grab a spoon and dig into that thick, creamy frozen dessert while it is perfectly cold.
The Texture and Flavor That Make It Irresistible
What makes this dessert so special is the balance of textures. The vanilla base is smooth and creamy, while the chocolate pieces bring a satisfying crunch.
As you take each spoonful, the cold creaminess melts slowly while the chocolate bursts add sweetness and richness. It feels indulgent but also refreshing.
Helpful Tips for the Best Results
Once you have made this dessert a few times, you will find your own favorite style. These tips can help along the way.
- Use premium ice cream for the creamiest texture.
- Add extra candy pieces after blending for bigger chunks.
- Freeze the mixture for a few minutes if it becomes too soft.
Common Mistakes and How to Avoid Them
Even simple desserts can have a few small pitfalls.
- Adding too much milk can make the dessert too thin. Add slowly.
- Over blending can break down the candy pieces completely.
- Using warm glasses can cause the dessert to melt quickly.
Nutritional Snapshot
Servings: 2
Calories per serving: 420
Note: These are approximate values.
Time Breakdown for This Quick Dessert
Prep Time: 5 minutes
Cook Time: 0 minutes
Total Time: 5 minutes
Make Ahead and Storage Ideas
If you want to prepare this dessert ahead of time, you absolutely can. Blend the mixture and store it in a freezer safe container.
When ready to serve, let it soften for a few minutes and blend again briefly. This brings back that thick, creamy texture.
Leftovers can also be frozen and enjoyed later as a frozen scoop style treat.
Fun Ways to Serve This Dessert
Serve it in tall glasses with colorful straws, or in chilled dessert bowls for a more traditional ice cream experience.
You can also sprinkle extra candy pieces, chocolate syrup, or cookie crumbs on top to add a little extra flair.
Turn Leftovers Into Something New
If you somehow end up with leftovers, there are fun ways to transform them.
You can freeze the mixture into popsicle molds for frozen treats, or scoop it into waffle cones for a homemade ice cream style dessert.
Extra Tips for Flavor and Texture
If you want an even richer dessert, try using a splash of heavy cream instead of part of the milk.
For a thicker result, reduce the milk slightly and add more ice cream.
Make It Look Like a Dessert Shop Treat
Presentation matters. Use a tall glass, swirl the whipped cream high, and sprinkle chocolate pieces right on top.
A drizzle of chocolate syrup down the inside of the glass also creates a beautiful layered effect.
Delicious Variations to Experiment With
Try switching things up with these fun ideas.
Cookie Crunch Version: Blend crushed chocolate cookies with the ice cream.
Peanut Butter Chocolate: Add a spoonful of peanut butter for a rich twist.
Mint Chocolate: Use mint ice cream and chocolate chips.
Caramel Candy Mix: Add caramel candies or caramel sauce.
FAQ’s
Q1: Can I make this without a blender?
Yes, you can mix softened ice cream with milk using a whisk or spoon, then stir in the candy pieces.
Q2: How do I make it thicker?
Use less milk and slightly more ice cream.
Q3: Can I use different candies?
Absolutely. Chocolate bars, cookie pieces, and caramel candies all work well.
Q4: Can this be made dairy free?
Yes, use dairy free ice cream and plant based milk.
Q5: How long can it stay frozen?
Up to one week in a sealed freezer container.
Q6: Why is my mixture too thin?
Usually it means too much milk was added or the ice cream melted.
Q7: Can I double the recipe?
Yes, just scale the ingredients and blend in batches if needed.
Q8: Is it possible to make it healthier?
You can use low fat ice cream and reduce the candy pieces.
Q9: Can kids help make it?
Definitely. Blending and adding toppings makes it a fun kitchen activity.
Q10: What glass works best for serving?
Tall milkshake style glasses keep the dessert cold and show off the layers beautifully.
Conclusion
There is something incredibly satisfying about recreating a favorite frozen dessert at home. This Homemade DQ Blizzards recipe delivers the same thick, creamy texture and candy filled fun without leaving your kitchen.
It is quick, customizable, and always a hit with family and friends. So grab your blender, scoop that ice cream, and get ready for a dessert that feels like a trip to the ice cream shop, right from your own kitchen.
Print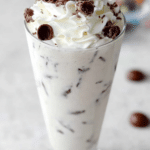
Homemade DQ Blizzards
- Prep Time: 5 minutes
- Cook Time: 0 minutes
- Total Time: 5 minutes
- Yield: 2 servings 1x
- Category: Dessert
- Method: Blending
- Cuisine: American
- Diet: Vegetarian
Description
A thick and creamy homemade frozen dessert inspired by the classic Blizzard. Vanilla ice cream blends with milk and chocolate candy pieces for a rich, spoonable treat topped with whipped cream.
Ingredients
- 3 cups vanilla ice cream
- 1/2 cup milk
- 3/4 cup chocolate candy pieces
- 1/2 cup whipped cream
Instructions
- Preheat Your Equipment: Place the serving glass in the freezer for about 5 minutes so the dessert stays colder longer.
- Combine Ingredients: Add the vanilla ice cream and milk to a blender and blend for about 20 seconds until smooth but still thick.
- Prepare Your Cooking Vessel: Scrape down the sides of the blender if needed so everything blends evenly.
- Assemble the Dish: Add the chocolate candy pieces to the blender and pulse briefly so they mix in while keeping their chunky texture.
- Cook to Perfection: Blend for a few seconds more until the mixture becomes thick, creamy, and filled with chocolate pieces.
- Finishing Touches: Pour the mixture into the chilled glass and top with whipped cream and extra chocolate candy pieces.
- Serve and Enjoy: Serve immediately with a spoon and enjoy the thick frozen dessert.
Notes
- Use slightly softened ice cream for easier blending and a smoother texture.
- Add milk gradually if you prefer a thicker consistency.
- Fold in extra candy pieces after blending for larger chunks.
- Chill the serving glass beforehand to keep the dessert colder longer.
Nutrition
- Serving Size: 1 glass
- Calories: 420
- Sugar: 36g
- Sodium: 160mg
- Fat: 20g
- Saturated Fat: 12g
- Unsaturated Fat: 6g
- Trans Fat: 0g
- Carbohydrates: 55g
- Fiber: 1g
- Protein: 7g
- Cholesterol: 60mg
Keywords: homemade blizzard, vanilla ice cream dessert, chocolate candy ice cream treat, thick milkshake dessert, frozen dessert