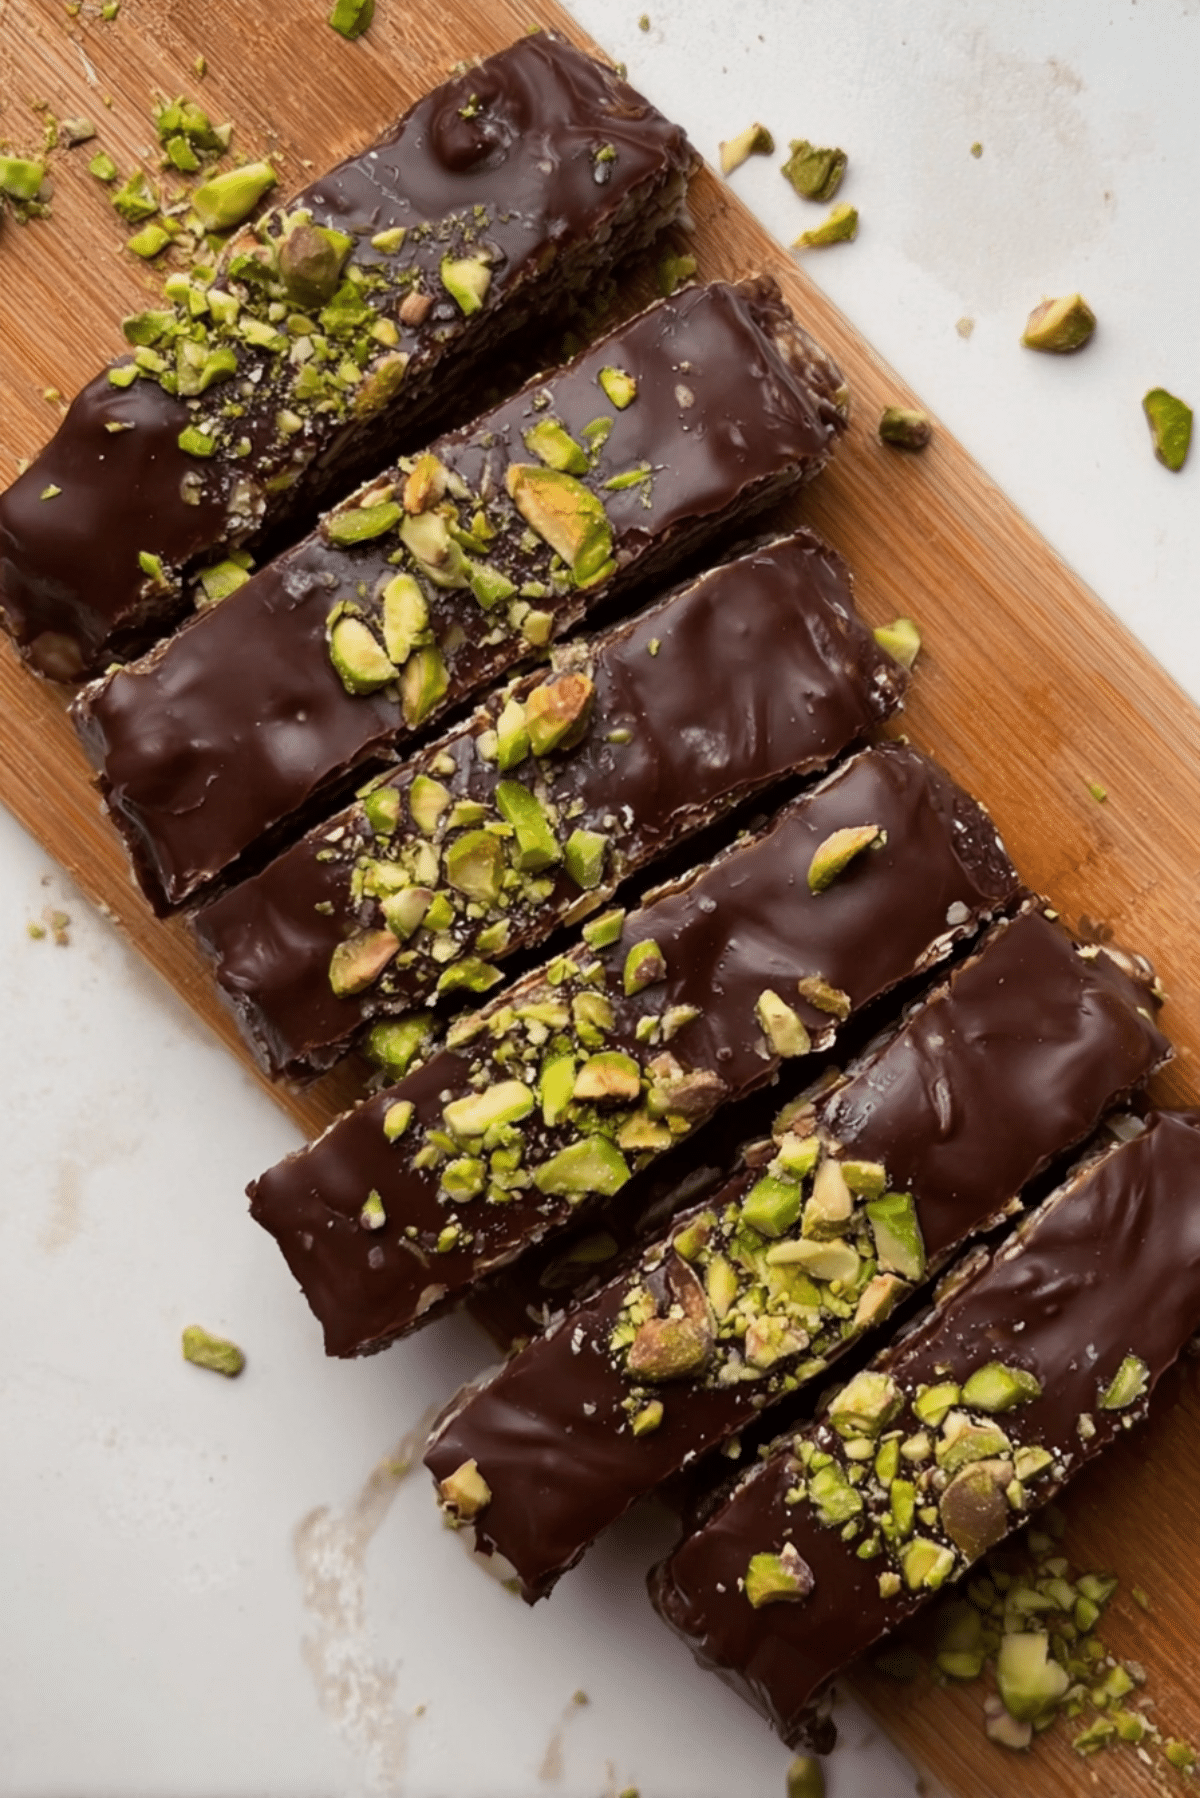
Healthy Chocolate Date Bar
There is something quietly magical about simple ingredients coming together to create something this satisfying. The first time I made these chocolate date bars, I remember the rich aroma of melted chocolate mixing with the natural sweetness of dates filling the kitchen. It felt indulgent, yet surprisingly wholesome. And trust me, you’re going to love this, every bite delivers that perfect balance of chewy, nutty, and silky smooth chocolate.
A Sweet Treat That Feels Both Indulgent and Nourishing
And now let’s dive into what makes these bars so irresistible. They bring together that deep caramel-like sweetness from dates with the richness of chocolate, all topped with a gentle crunch of pistachios. It is the kind of treat you can enjoy as a snack, dessert, or even a quick energy boost. This one’s a total game-changer when you want something sweet without going overboard.
A Little Story Behind This Naturally Sweet Delight
As we move along, it is worth knowing that date-based desserts have been loved for centuries, especially in Middle Eastern and Mediterranean kitchens. Dates were often used as a natural sweetener long before refined sugar became common. Pairing them with nuts and chocolate is a more modern twist, blending tradition with today’s love for healthier treats.
Why This Recipe Works Every Single Time
Before we get into the details, let me share why this recipe deserves a spot in your routine.
Versatile: You can enjoy these bars as a snack, dessert, or even a pre-workout bite, they fit into almost any moment of the day.
Budget-Friendly: The ingredients are simple and easy to find, no need for anything fancy or expensive.
Quick and Easy: Minimal prep and no complicated steps, which makes it perfect for busy days.
Customizable: Swap nuts or adjust sweetness depending on your taste.
Crowd-Pleasing: Even those who are not into healthy desserts end up loving these.
Make-Ahead Friendly: They store beautifully, making them ideal for prepping in advance.
Great for Leftovers: If they last that long, they taste just as good the next day.
Pro Tips to Get That Perfect Texture Every Time
Now that you are excited, here are a few little secrets that make a big difference.
- Use soft, fresh dates so they blend easily and create a smooth base
- Melt chocolate gently to keep it glossy and rich
- Press the mixture firmly into the pan so the bars hold their shape
- Chill long enough before slicing for clean, neat cuts
Tools That Make the Process Smooth and Easy
Before we jump into ingredients, let’s quickly look at what you will need.
Food Processor: Helps break down the dates into a smooth, sticky base.
Mixing Bowl: For combining everything evenly.
Spatula: Useful for pressing and spreading the mixture.
Baking Dish or Tray: Shapes the bars into that perfect thickness.
Knife: For slicing clean, even bars once set.
Ingredients You Will Need For This Chocolatey Delight
Now comes the heart of the recipe, where everything starts to come together.
- Pitted Dates: 2 cups, these create the naturally sweet and chewy base
- Dark Chocolate: 1 cup, melted, adds richness and that smooth coating
- Pistachios: 1/3 cup, chopped, gives a light crunch and a pop of color
- Almond Butter: 1/2 cup, binds everything together and adds a nutty depth
- Coconut Oil: 2 tablespoons, helps the chocolate melt smoothly and set nicely
Simple Swaps If You Want to Change Things Up
And if you feel like experimenting, here are some easy substitutions.
Pistachios: Use almonds or walnuts instead
Almond Butter: Swap with peanut butter or cashew butter
Dark Chocolate: Try milk chocolate for a sweeter version
Coconut Oil: Replace with butter if preferred
The Star Ingredients That Make It Special
Let’s highlight what really makes this recipe shine.
Dates: Naturally sweet, soft, and rich, they are the backbone of the bars and give that chewy texture.
Dark Chocolate: Deep, slightly bitter, and smooth, it balances the sweetness beautifully.

Let’s Get Cooking Together
Alright, now let’s bring everything to life. Here are the steps you are going to follow.
- Preheat Your Equipment: No oven needed, but prepare your tray by lining it with parchment paper.
- Combine Ingredients: Blend the pitted dates and almond butter in a food processor until a sticky mixture forms.
- Prepare Your Cooking Vessel: Transfer the mixture into your lined tray and press it down firmly into an even layer.
- Assemble the Dish: Melt the dark chocolate with coconut oil, then pour it evenly over the date layer.
- Cook to Perfection: Place the tray in the refrigerator and let it chill for about 1 hour until the chocolate sets.
- Finishing Touches: Sprinkle chopped pistachios on top before the chocolate fully hardens for better sticking.
- Serve and Enjoy: Slice into bars and enjoy that perfect chewy and chocolatey bite.
The Texture and Flavor Experience
As you take that first bite, you will notice the soft chewiness of the dates, followed by the smooth snap of chocolate on top. The pistachios add a subtle crunch, creating a beautiful contrast. The flavors deepen as they sit, making each bite even more satisfying.
Helpful Tips to Make It Even Better
A few extra tips can really elevate the experience.
- Chill the bars long enough for clean slicing
- Use high-quality chocolate for the best flavor
- Lightly toast the nuts for extra depth
What to Avoid While Making These Bars
Even simple recipes can go wrong, so keep these in mind.
- Do not skip lining the tray, it helps with easy removal
- Avoid overheating the chocolate, it can turn grainy
- Do not use dry dates, they will not blend well
Nutrition Snapshot You Should Know
Servings: 12 bars
Calories per serving: 180
Note: These are approximate values.
Time Breakdown for This Easy Recipe
Prep Time: 15 minutes
Cook Time: 0 minutes
Total Time: 1 hour 15 minutes
Make Ahead and Storage Made Simple
You can prepare these bars ahead and store them in an airtight container in the fridge for up to a week. They also freeze well, just thaw slightly before eating. Reheating is not needed, they are best enjoyed chilled or at room temperature.
Serving Ideas to Make It Extra Special
Serve these bars with a cup of coffee or tea, or crumble them over yogurt for a fun twist. They also pair beautifully with fresh fruit for a balanced snack plate.
Turn Leftovers Into Something New
If you have leftovers, try chopping them into small pieces and mixing into oatmeal or smoothie bowls. It adds sweetness and texture in the best way.
Extra Tips for the Best Results
Keep your hands slightly damp when pressing the mixture to prevent sticking. And always use a sharp knife for slicing, it makes all the difference.
Make It Look As Good As It Tastes
For a beautiful presentation, slice evenly and arrange on a clean plate. A light sprinkle of extra pistachios on top makes them look bakery-worthy.
Fun Variations You Can Try
- Add shredded coconut to the base for extra texture
- Mix in chia seeds for a nutritional boost
- Use white chocolate for a different flavor twist
- Add a pinch of sea salt on top for contrast
FAQ’s
1. Can I use other types of dates?
Yes, Medjool dates work best, but any soft variety will do.
2. Do I need a food processor?
It helps, but you can mash by hand if the dates are soft enough.
3. Can I make this nut-free?
Yes, use sunflower seed butter instead of almond butter.
4. How long do they last?
Up to one week in the fridge.
5. Can I freeze them?
Absolutely, they freeze well for up to two months.
6. Is this recipe vegan?
Yes, it is naturally vegan.
7. Can I reduce the sweetness?
You can mix in oats or nuts to balance the sweetness.
8. Why is my mixture too dry?
Your dates might be dry, try soaking them briefly.
9. Can I skip coconut oil?
You can, but it helps the chocolate set better.
10. How do I get clean cuts?
Chill well and use a sharp knife.
Conclusion
And there you have it, a simple yet deeply satisfying treat that feels both indulgent and nourishing. Once you try these bars, they might just become your go-to sweet fix. Let me tell you, it’s worth every bite.
Print
Healthy Chocolate Date Bar
- Prep Time: 15 minutes
- Cook Time: 0 minutes
- Total Time: 1 hour 15 minutes
- Yield: 12 bars 1x
- Category: Dessert
- Method: No-Bake
- Cuisine: Mediterranean
- Diet: Vegan
Description
A naturally sweet and indulgent no-bake treat made with soft dates, rich dark chocolate, and crunchy pistachios, perfect for a quick snack or healthy dessert.
Ingredients
- 2 cups pitted dates
- 1 cup dark chocolate, melted
- 1/3 cup pistachios, chopped
- 1/2 cup almond butter
- 2 tablespoons coconut oil
Instructions
- Prepare a tray by lining it with parchment paper.
- Blend the pitted dates and almond butter in a food processor until a sticky, smooth mixture forms.
- Transfer the mixture into the lined tray and press it firmly into an even layer.
- Melt the dark chocolate with coconut oil until smooth and glossy.
- Pour the melted chocolate evenly over the date layer.
- Sprinkle chopped pistachios on top before the chocolate fully sets.
- Place the tray in the refrigerator and chill for about 1 hour until firm.
- Slice into bars and serve.
Notes
- Use soft dates for easier blending and better texture.
- Chill thoroughly before slicing for clean cuts.
- Store in an airtight container in the fridge for up to one week.
Nutrition
- Serving Size: 1 bar
- Calories: 180
- Sugar: 14g
- Sodium: 10mg
- Fat: 9g
- Saturated Fat: 4g
- Unsaturated Fat: 5g
- Trans Fat: 0g
- Carbohydrates: 22g
- Fiber: 3g
- Protein: 3g
- Cholesterol: 0mg
Keywords: healthy chocolate date bar, no bake dessert, date bars, chocolate snack, vegan dessert